

 Buried Pipe and Cable Locators
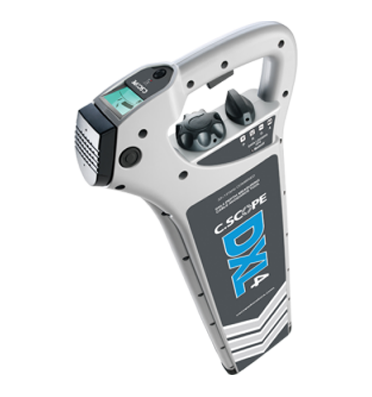
DXL4 Cable Avoidance Tool
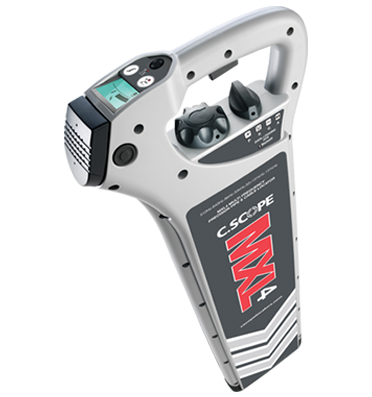
MXL4 Pipe & Cable Locator
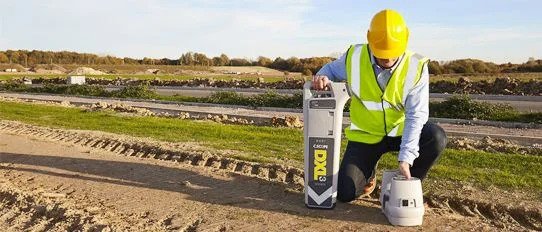
DXL3 Cable Avoidance Tool
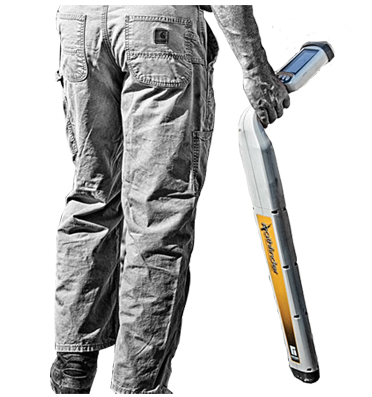
STLOC10 GPS Pathfinder Pipe & Cable Route Tracer
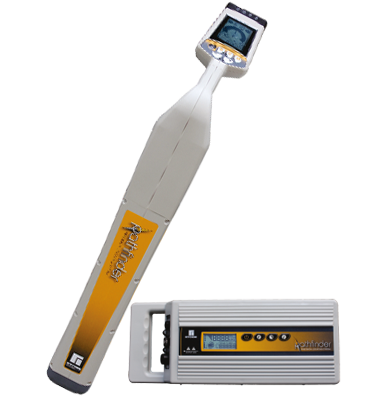
STLOC10 Pathfinder Pipe & Cable Tracer
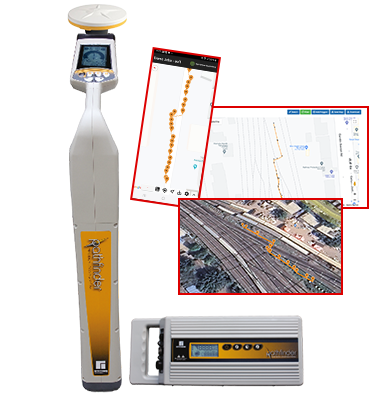
Pathfinder PLDL Survey Grade RTK GNSS Mapping Pipe & Cable Route Tracer
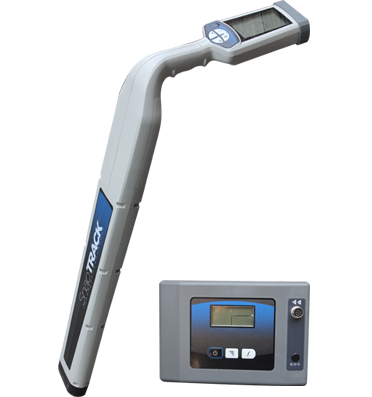
STLOC3 Buried Pipe Cable Route Locating Equipment

STLOC5 Pathfinder Pipe & Cable Locator

Non Metallic PLB Telecom Duct Route Tracing System
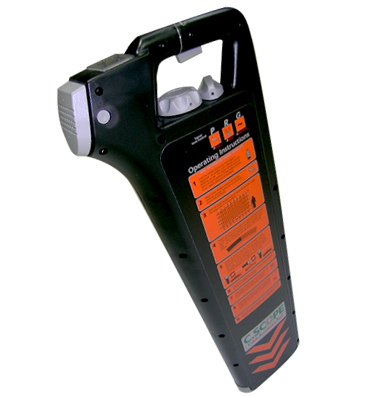
Cat 33 XD Cable Avoidance Tool
 Underground Utility Mapping GPR
 Traceable Duct Rodder
 Electronic Markers and Locators
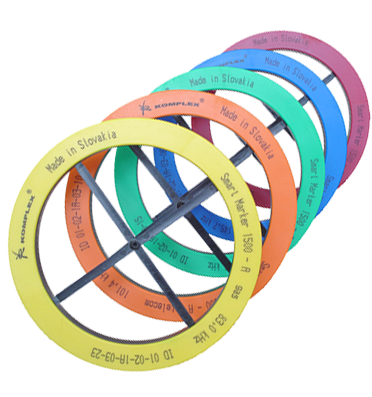
Smart RFID Electronic Cable Marker & Marker Locator
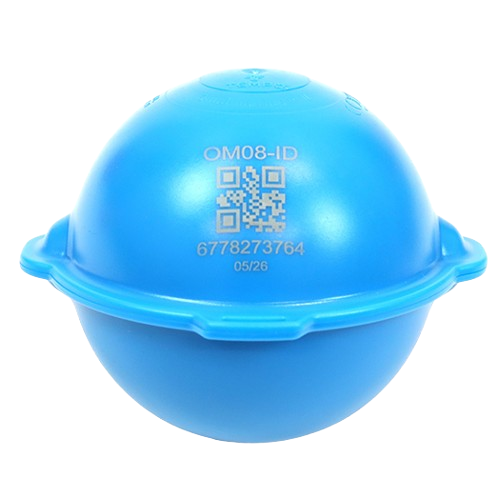
OmniMarker-ID RFID Electronic Marker

Markers 2500
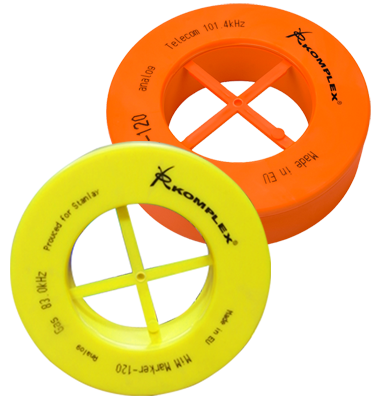
MiM 120 Electronic Pipe And Cable Marker
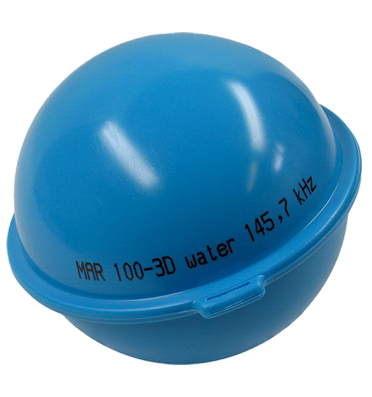
MAR 100-3D Ball Marker
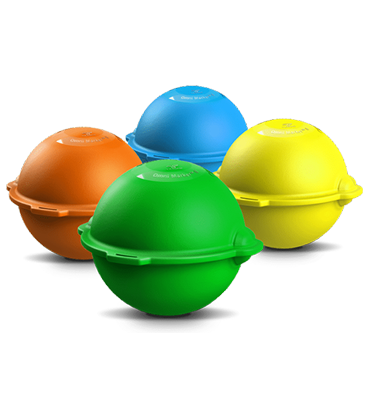
Omni Marker Electronic Ball Marker
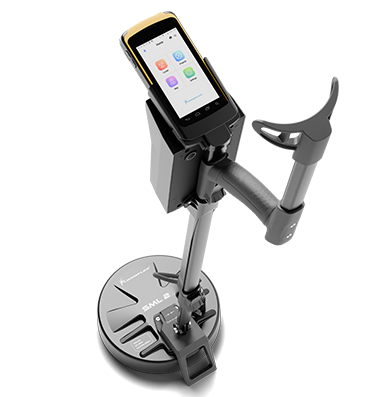
SML 2 Smart RFID Electronic Marker Locator
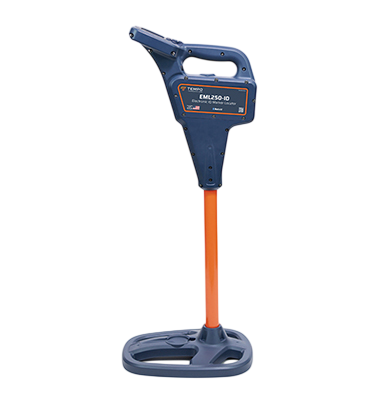
EML250-ID Electronic ID RFID Marker Locator
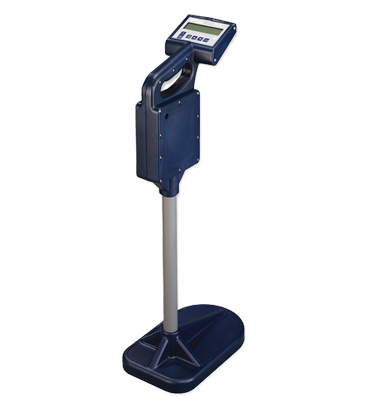
Markermate Locator
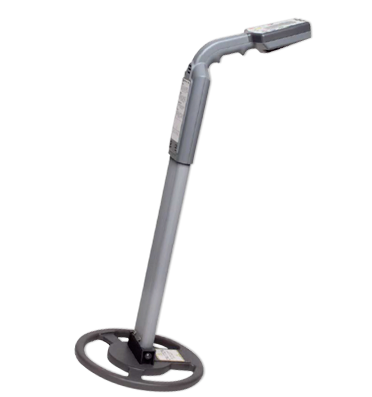
8891 Marker Locator
 Metal Detectors
 Manhole Cover Locator
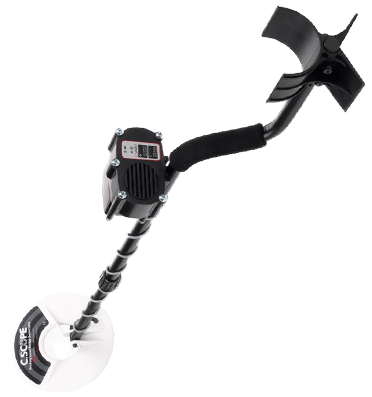
CS880 Manhole Cover Locator
 Ferromagnetic locator
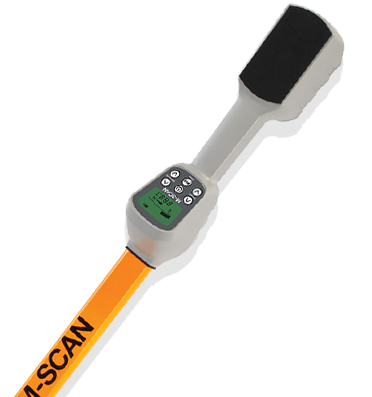
M-SCAN Magnetometer
 Duct Rodders
 Fish Tapes & Push Pull Rods
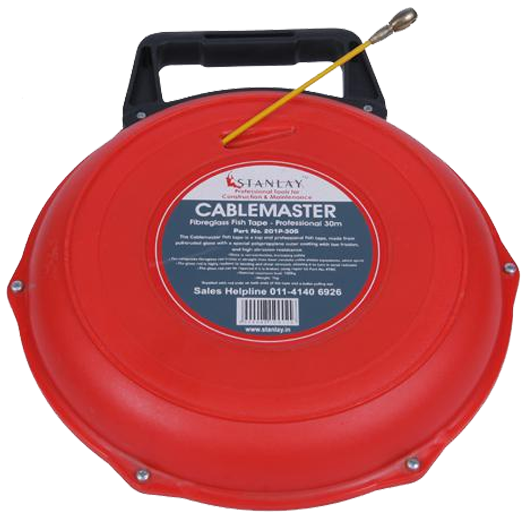
Cablemaster Fish Tape
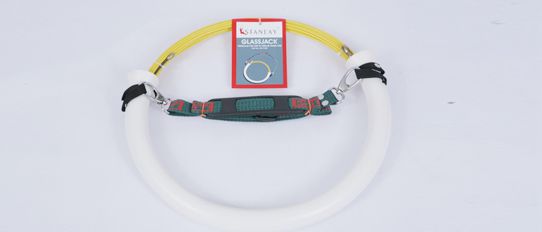
Glassjack Fish Tape
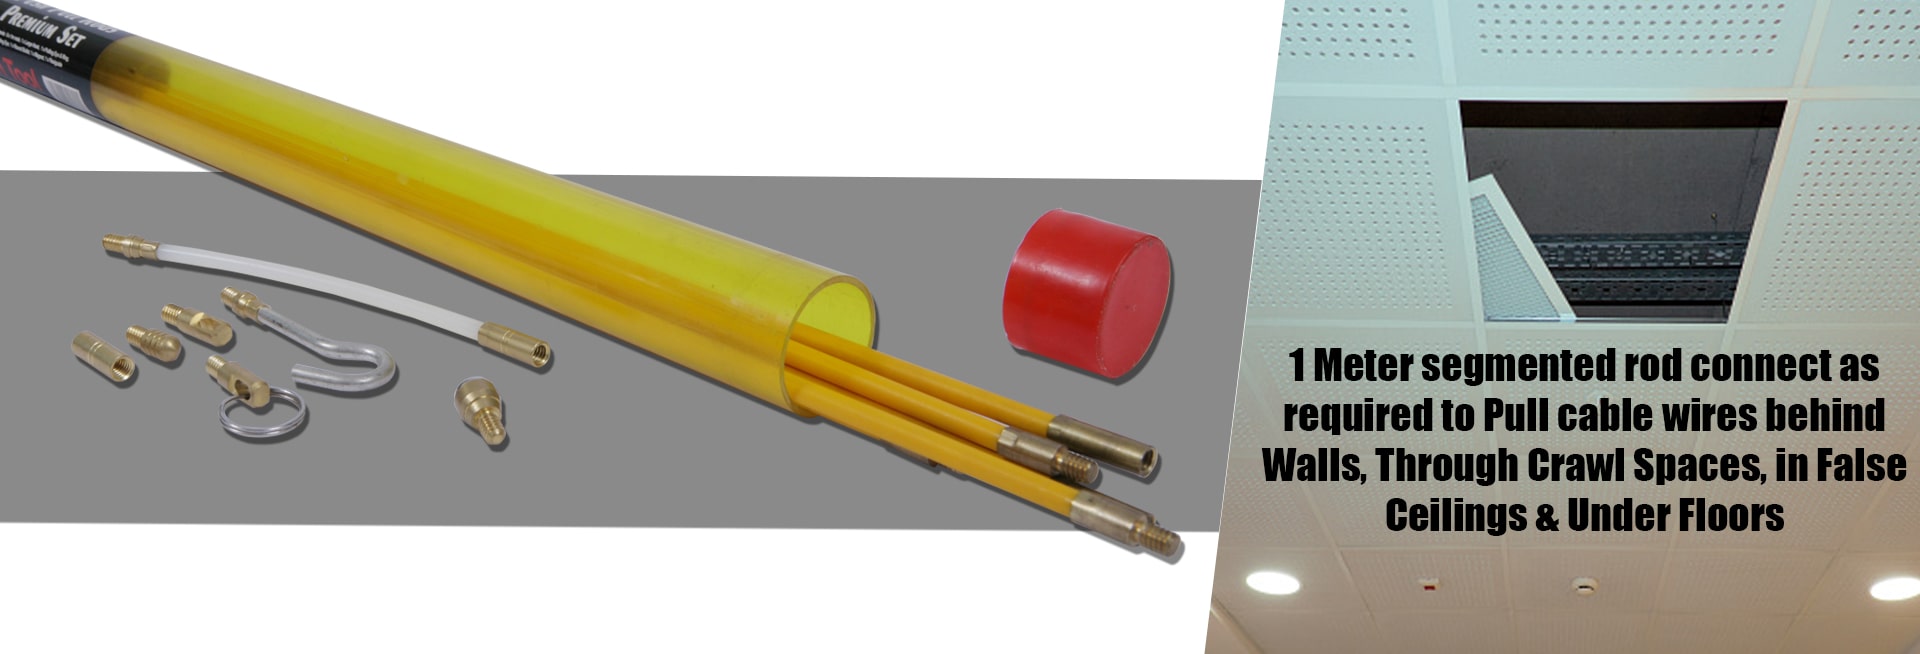
Push Pull Rods
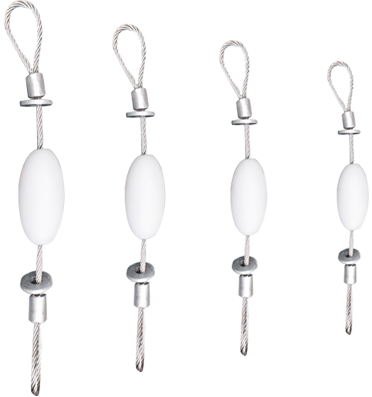
 Duct Integrity Testers
Duct Mandrels
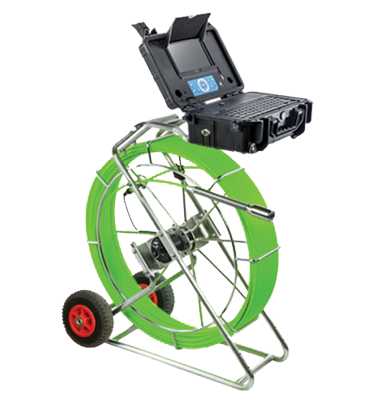
 Pipe Inspection Camera System
STANONE LPIC Water & Sewer Pipe Inspection Camera
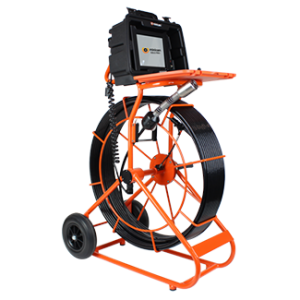
SOLOPRO+ PTZ Pipe Inspection Camera
 Sewage Overflow Monitoring
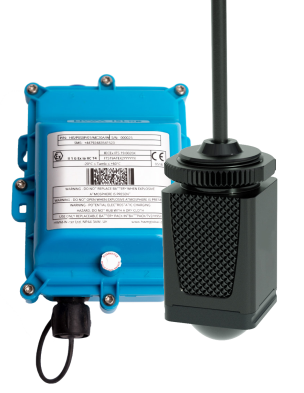
RadarSens LR
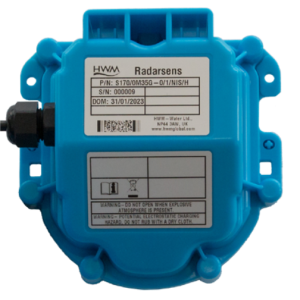
RadarSens
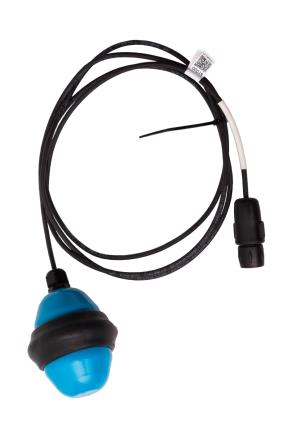
SpillSens
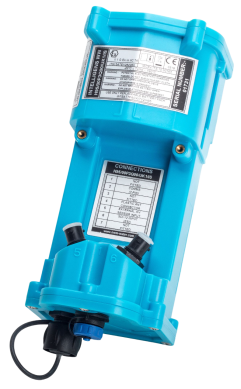
Intelligens WW
 Water Network Loggers
 Pressure Controller
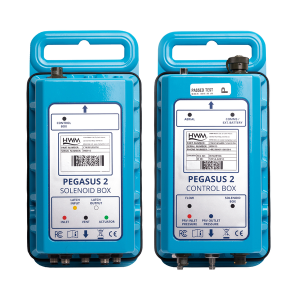
Pegasus 2
 Water Leak Detection System
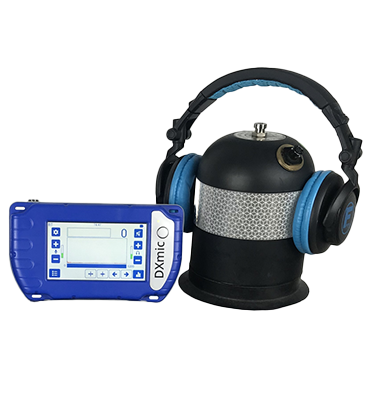
DXmic Pro Digital Ground Microphone Water Leak Detector
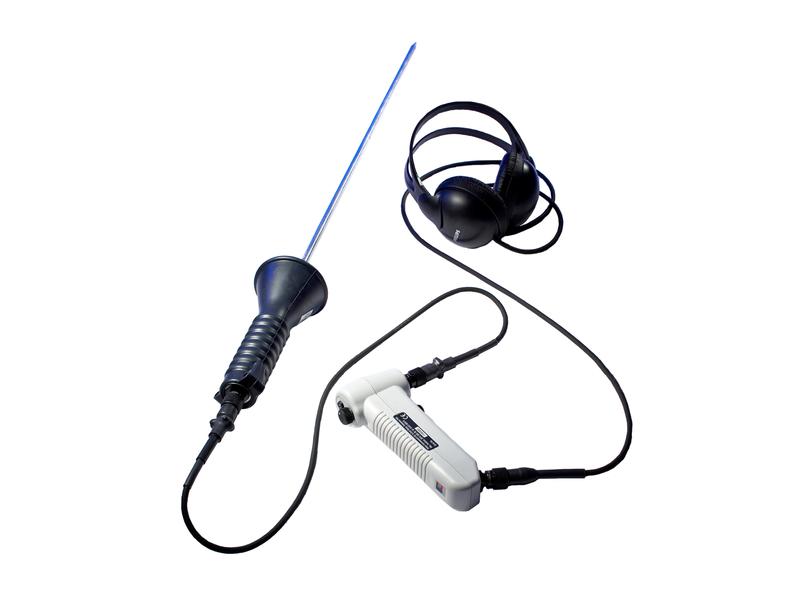
Lmic Water Leak Ground Microphone & Electronic Listening Stick
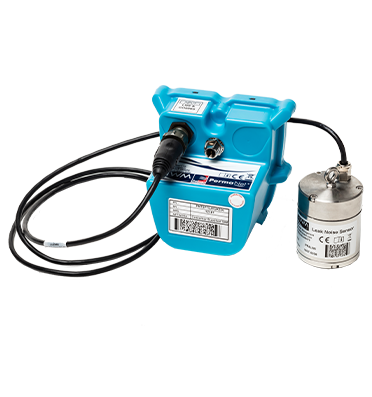
PermaNet+ GPRS/4G Enabled Correlating Leak Noise Logger
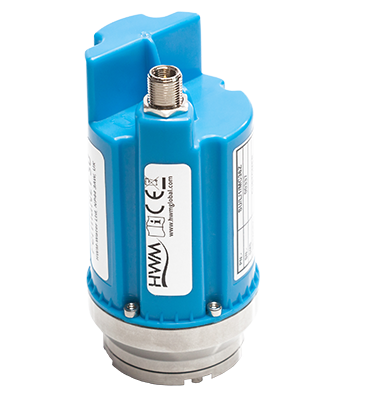
PermaNET SU LTE-M & NBIoT-enabled Correlating Leak Noise Logger
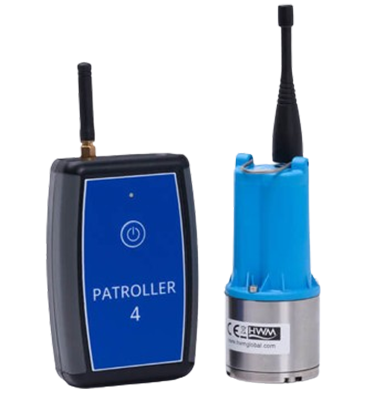
PCorr+ Correlating Noise Logger
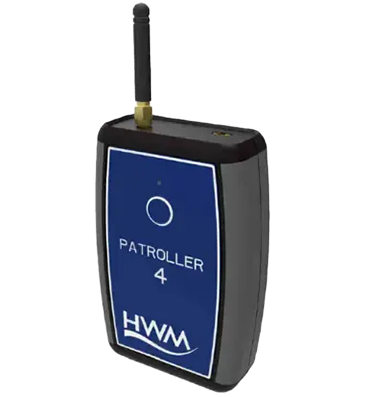
Patroller 4 Wireless Transceiver
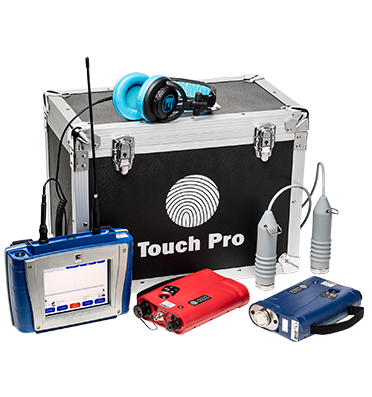
Touch Pro High Performance Water Leak Noise Correlator
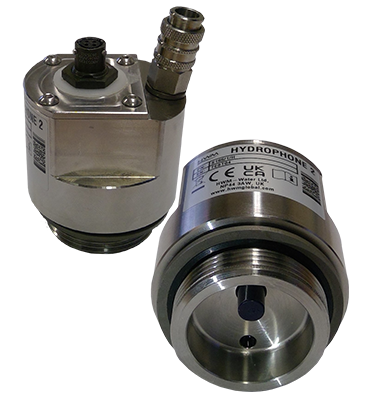
Hydrophone 2 High Performance Plastic & Trunk Main Sensor
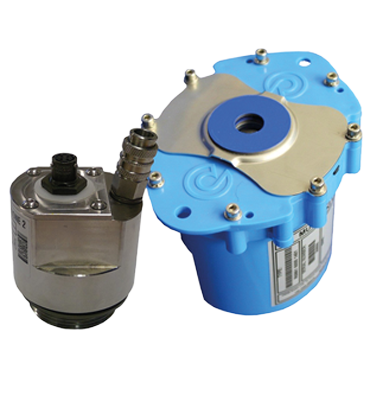
PermaNET TM GPS Multi-Parameter Water Trunk Main Leak Detection
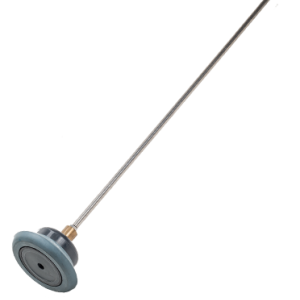
ST20 Listening Stick
Perija Plus Underground Water Leak Detector
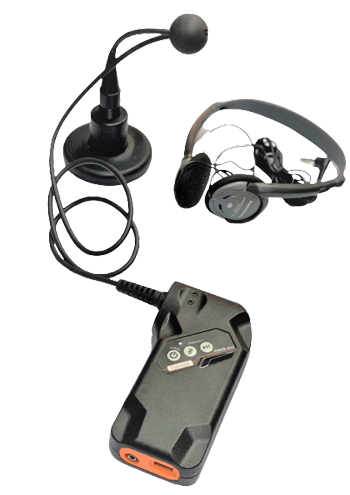
Perija Mini V-Pickup

Perija Mini Vpro Water Leak Estimator
 Industrial Pipe Inspection Camera

STANONE IPC1 Industrial Pipe Inspection Camera
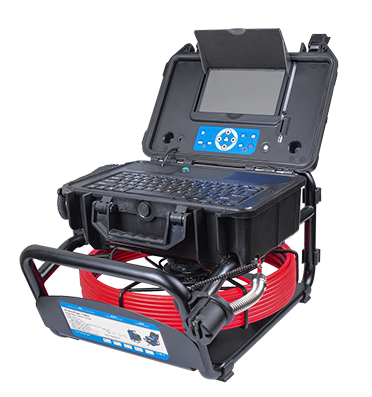
STANONE RPIC1 Ruggedized Industrial Video Drain-Pipe Inspection Camera

STANONE RPIC2 Ruggedized Industrial Video Drain-Pipe Inspection Camera
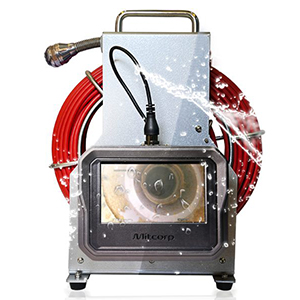
X600-PRM2830 Touch Screen Industrial Pipe Inspection Camera
 ATEX Camera Systems
 Robotic Crawler Camera Pipe Inspection System
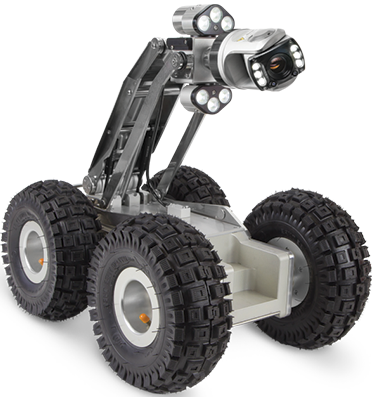
Proteus CRP300 Robotic Crawler
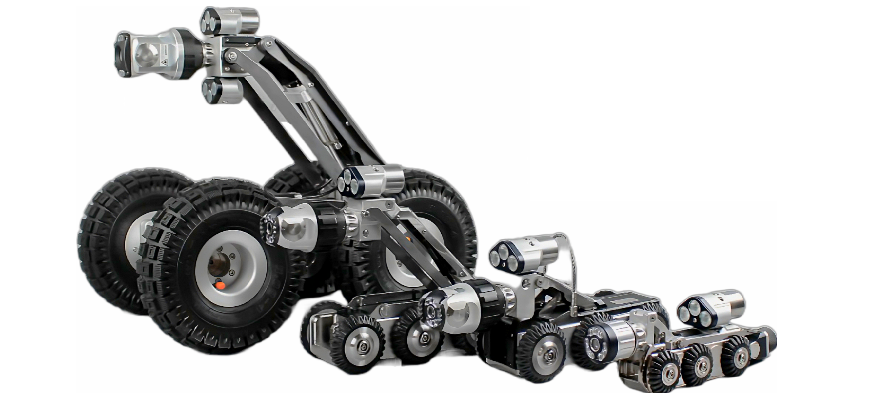
Proteus CRP140 Robotic Crawler
 OTDR
OTDR
 Fiber Optic Splicing Machine
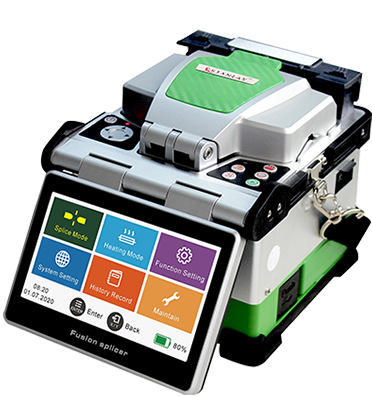
L3 Fusion Splicer
.jpg)
S5 Fusion Splicer
 Optical Loss Test
 Optical Power Meters
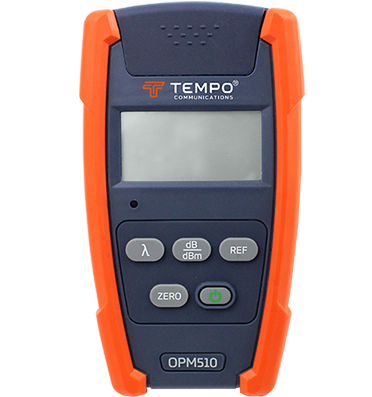
OPM 500 Optical Power Meter
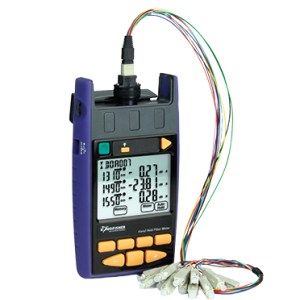
KI 2600 Handheld Optical Power Meter
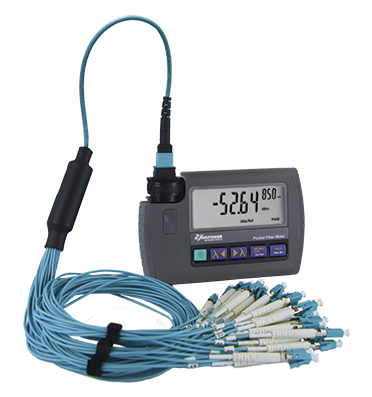
KI 9600A Optical Power Meter
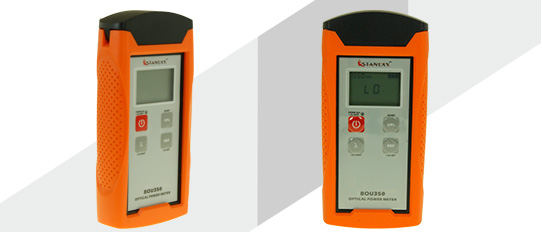
BOU350 Optical Power Meter
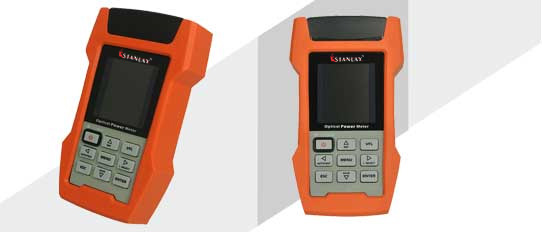
AOP110 Optical Power Meter
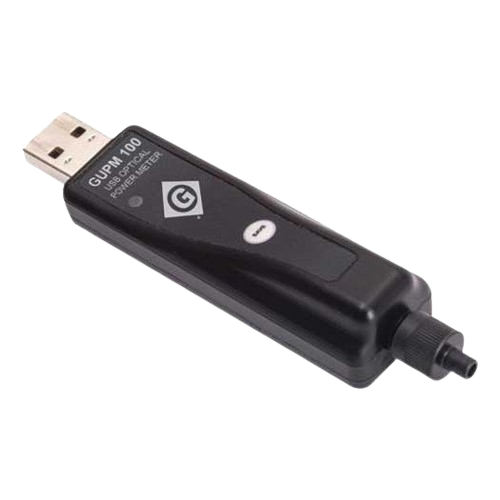
GUPM 100 Optical Power Meter
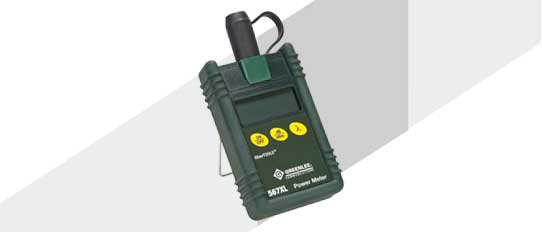
567XL Silicon Fiber Optic Power Meter
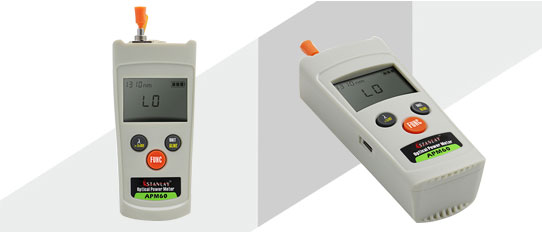
APM60 Optical Power Meter
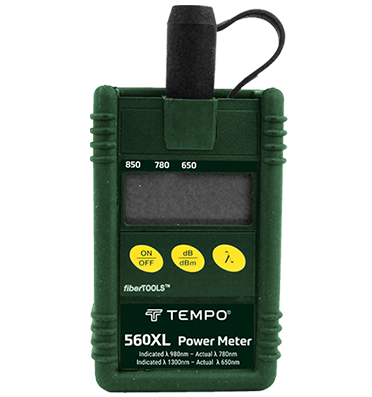
560XL-EMI Fiber Optic Power Meter
 Optical Light Source
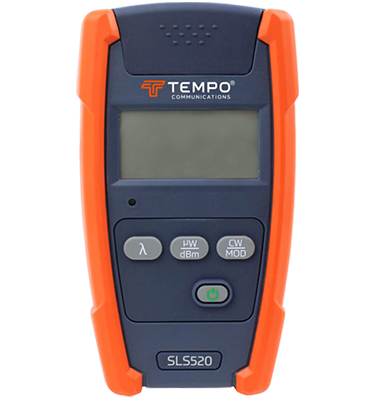
SLS 500 Optical Light Source
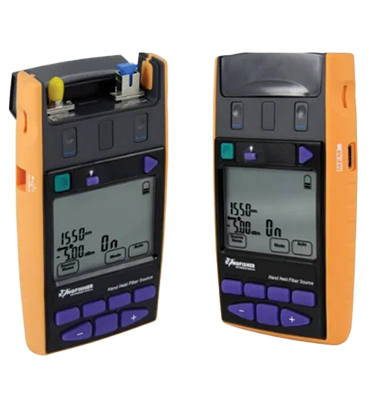
KI 2800 Handheld Optical Light Source
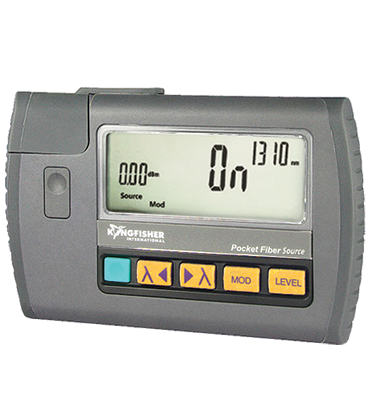
KI 9800 Pocket Fiber Optic Light Source
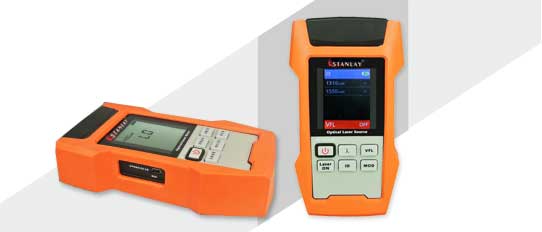
AOS210 Optical Laser Source
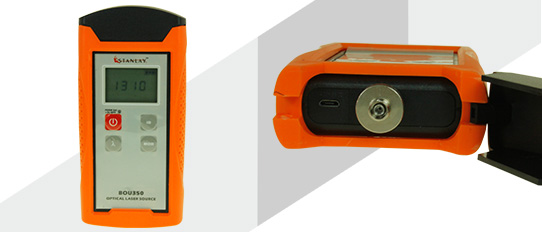
BOU350 Optical Laser Source
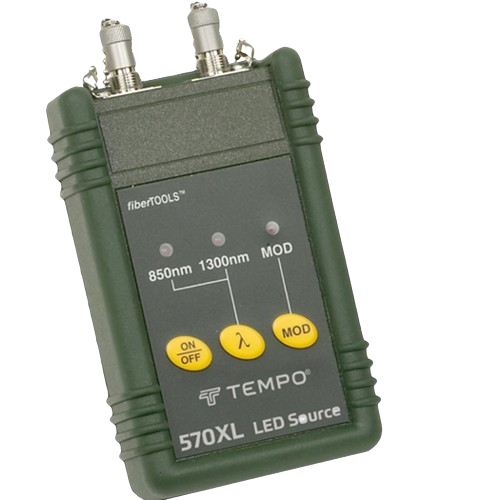
570XL-AS100-EMI Light Source
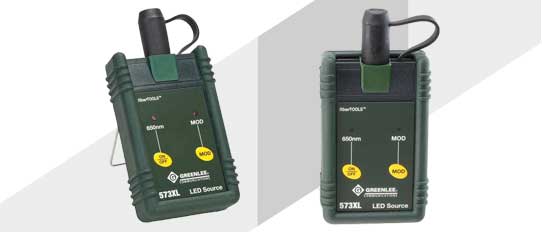
573XL 650nm LED Source
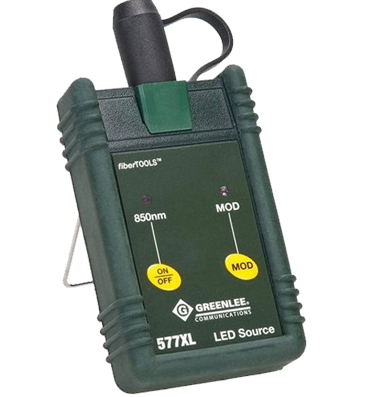
577XL AS100 850nm LED Source
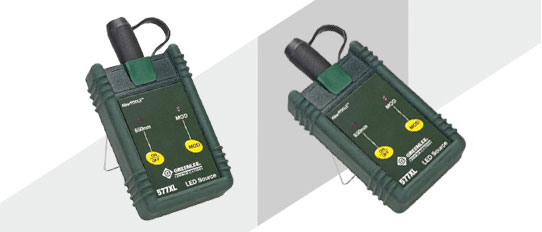
577XL 850nm LED Source With M90
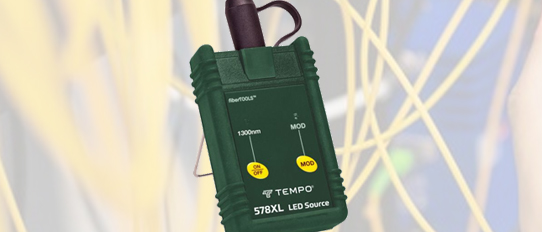
578 XL M90 1300nm LED Source
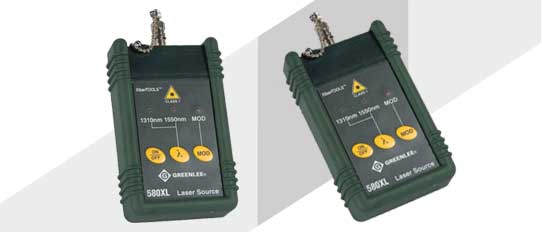
580 XL-EMI
 TDR Cable Fault Locator
 Fiber Optic Visual Fault Locators
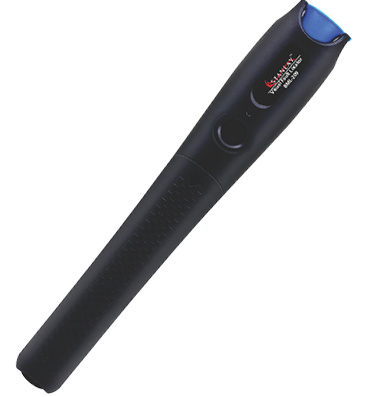
BML-209 Pen Type Visual Fault Locator
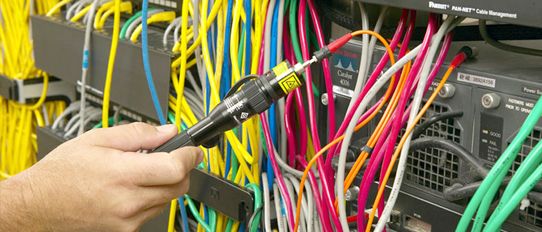
170XL Visual Fault Finder
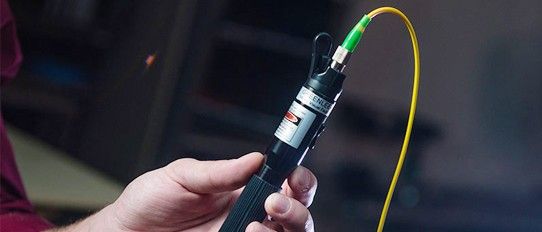
180XL Visual Fault Locator
 Network Analyzer
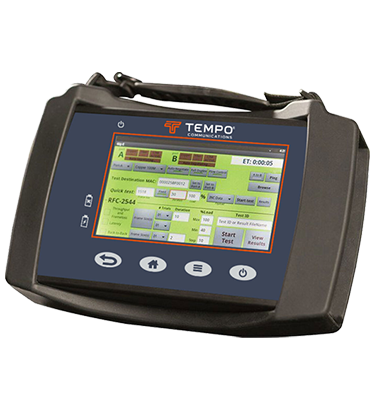
DataScout10G Network Tester With Datacom Interface
 Lan Testers
 Fiber Tools
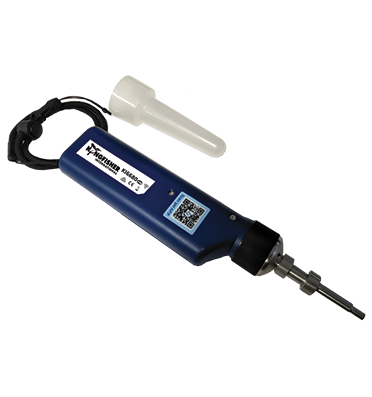
KI6680 Mini Fiber Inspection Probe
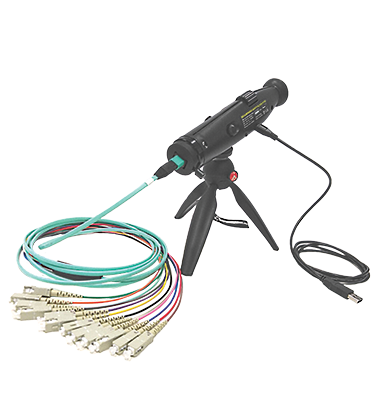
KI 6610 Handheld Fiber Inspection Microscope
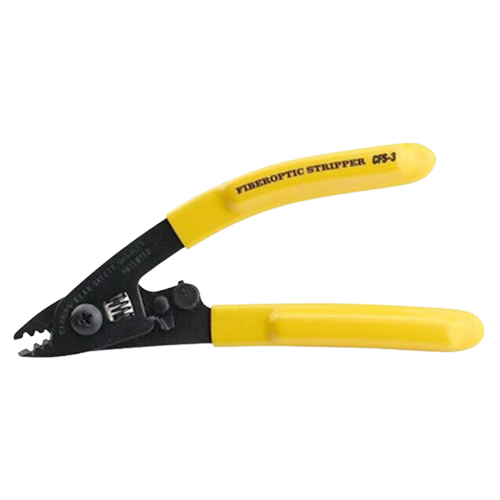
Three Hole Optical Fiber Stripper TK-3
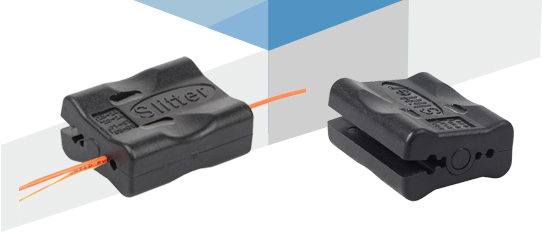
Mid Span Slitter TK-11
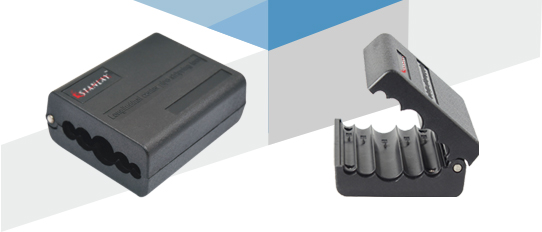
Mid Span Slitter TK-26
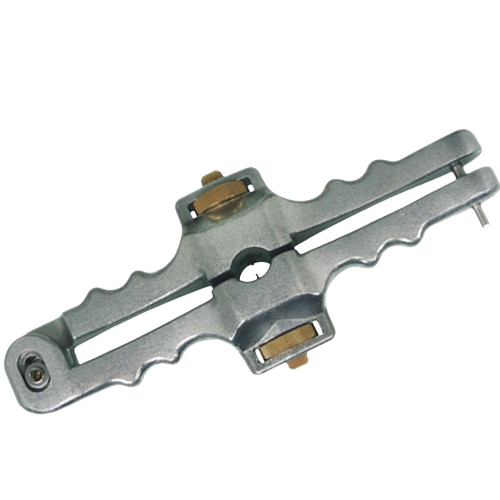
Optical Fiber Cable Jacket Slitter TK-10
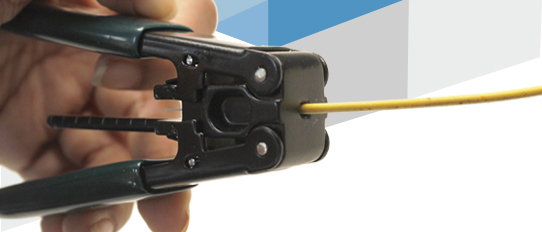
Drop Fiber Cable Stripper TK-14

Kevlar Cutter TK-25
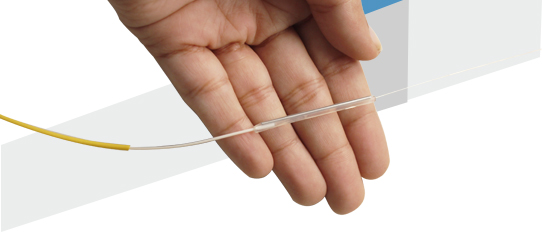
Single Fiber Protection Sleeve TK-15
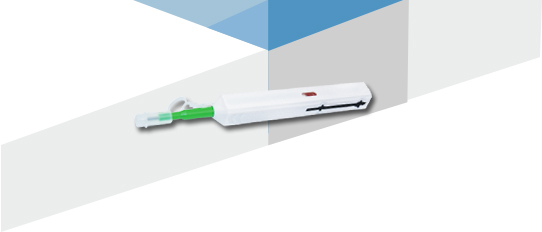
One-click Cleaner TK-20
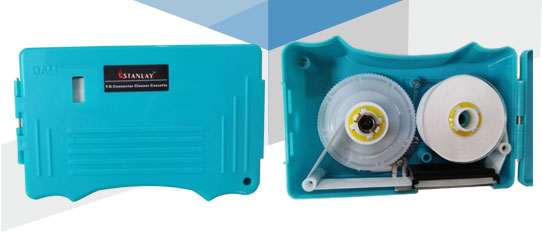
Cleaning Cassette TK-19
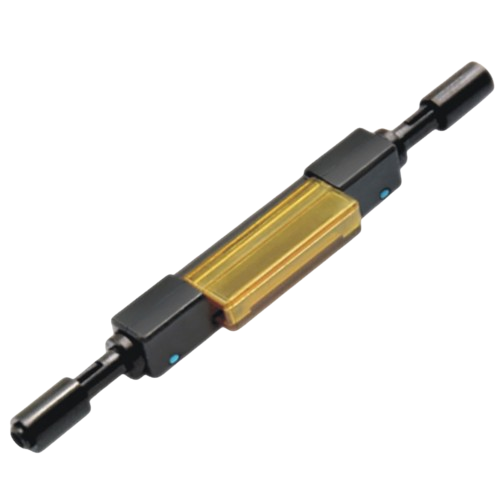
Mechanical Splicer TK-30
 Fiber Cleavers
 Optical Fiber Identifier
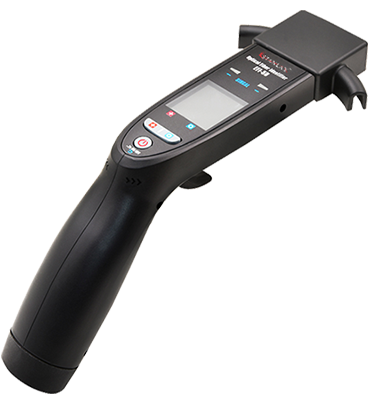
EFI-50 Live Fiber Identifier
 Fiber Optical Attenuator
 Tone & Probe Kit
 Fiber Optical Talk Set
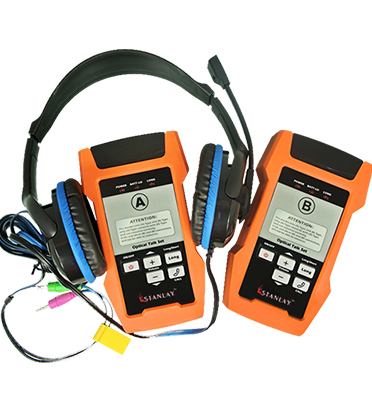
AOT600 Optical Talk Set
 Rocoil Rail Current Transducer
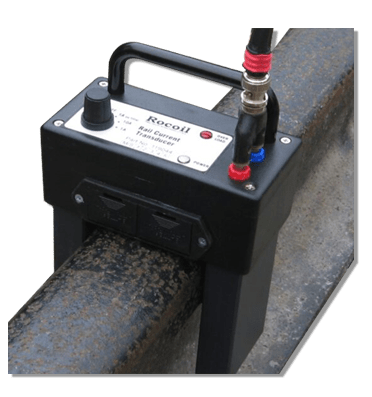
Rocoil Rail Current Transducer
 Bit Error Rate Tester
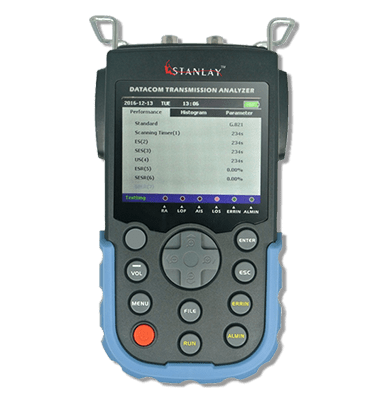
DEB101E E1BER Tester
 Network Qualification Testers
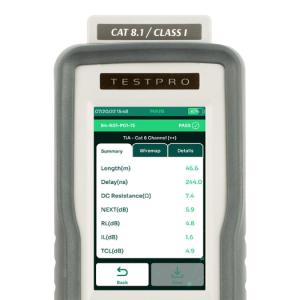
TEST PRO CV 100
.png) Network Service Assisitants
Network Service Assisitants
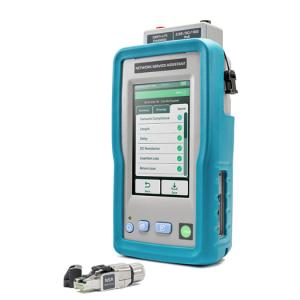
Network Service Assistant
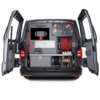 Megger Cable Fault Test Vans
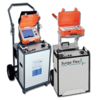 Megger Portable Cable Fault Locators
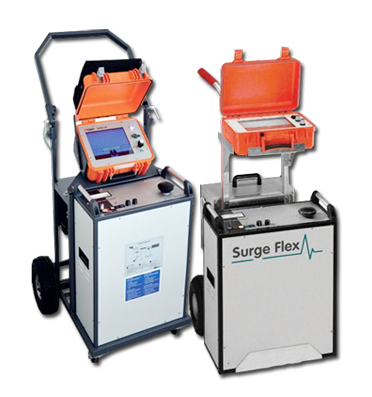
SFX 8-1000 Cable Fault Locating System

SFX 32 Portable Cable Test & Fault Location System
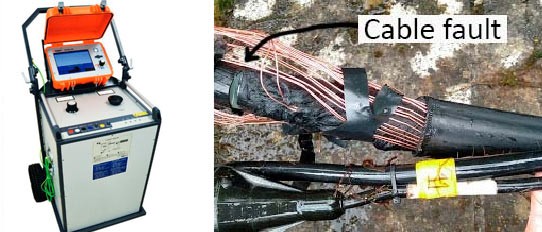
SFX16 2000J Cable Test & Fault Location System
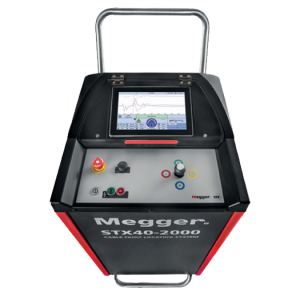
STX40 Portable Fault Location System
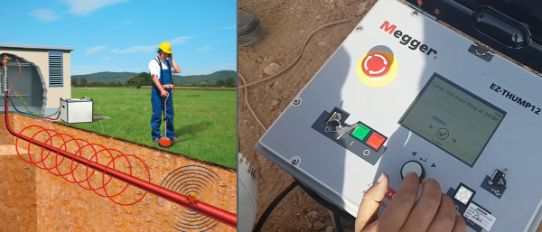
EZ-THUMP Compact Cable Fault Locator
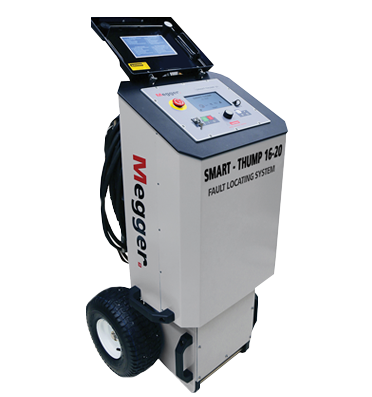
Smart Thump ST16 Portable Cable Fault Location System
 Handheld Thermal Imaging Camera
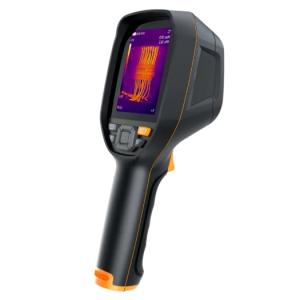
S295 Handheld Thermal Imaging Camera
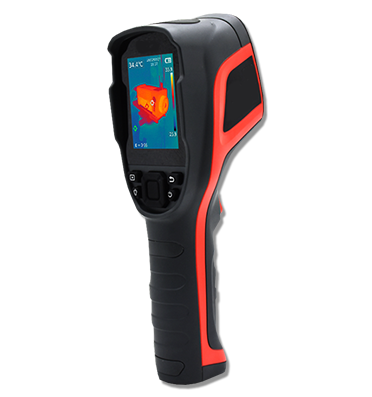
S280 Handheld Thermal Imaging Camera
S280 Pro Handheld Thermal Imaging Camera
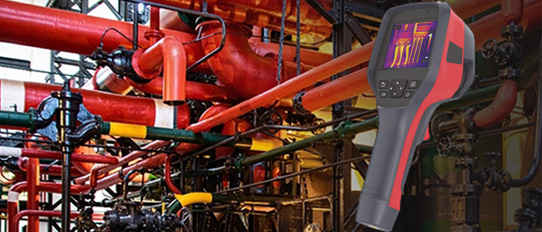
S300N-M Manual Focus Thermal Imaging Camera
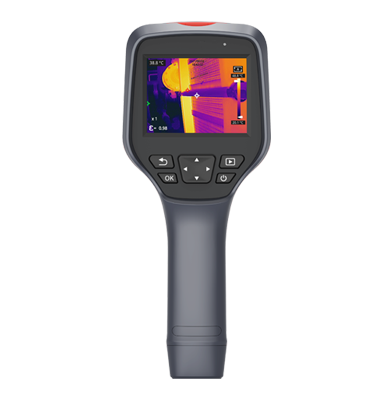
S320-M Manual Focus Thermal Imaging Camera
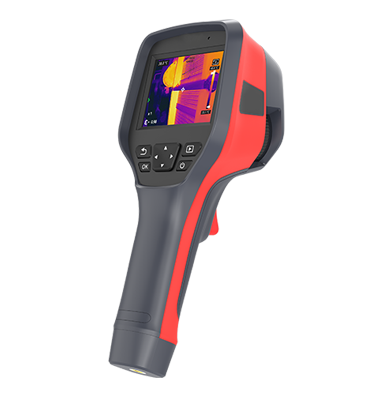
S500-M Manual Focus Thermal Imaging Camera
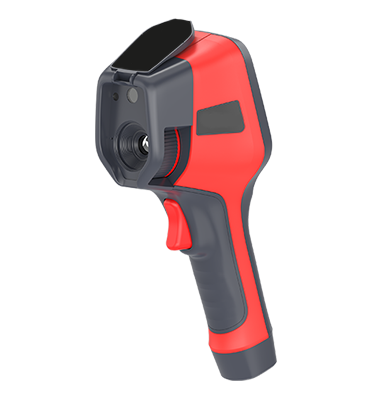
S600 Manual Focus Handheld Thermal Imaging Camera

STX 480/640 Handheld Auto & Manual Focus Thermal Imaging Camera
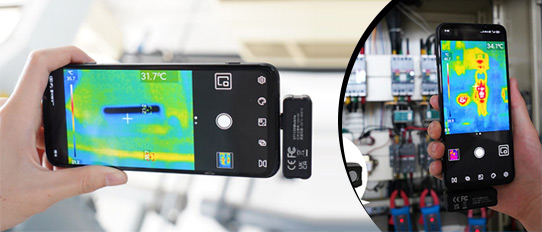
ST-120 Mobile Thermal Imaging Camera
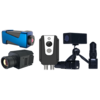 Fixed 24x7 Monitoring Thermal Imaging Camera
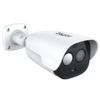 Security Thermal Imaging Camera
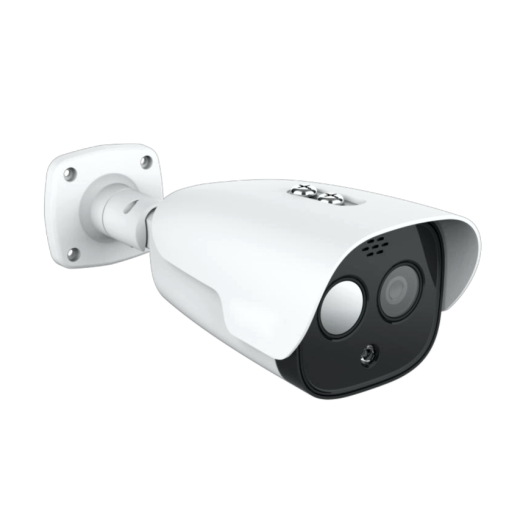
SECT1 Bullet CCTV Thermal Camera
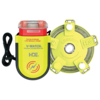 Personal Safety Voltage Detectors
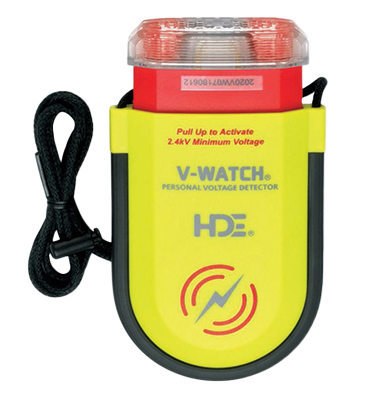
V-Watch Personal Voltage Detector
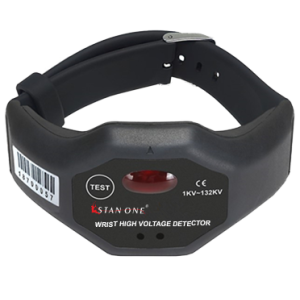
SHV500 Wrist High Voltage Detector
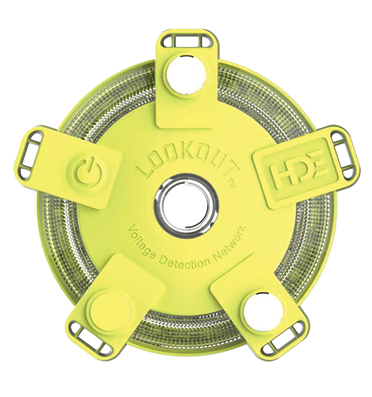
LOOKOUT Voltage Detection Network
 High Voltage Utility Testers
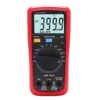 Digital Multimeters
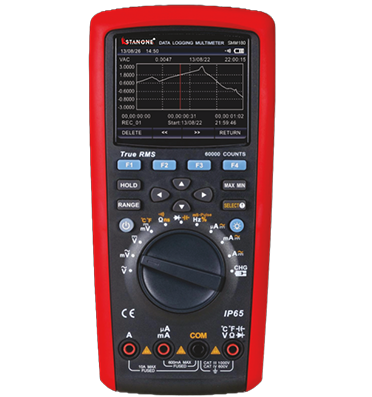
SMM180 Trend Capture True RMS Datalogging Multimeter
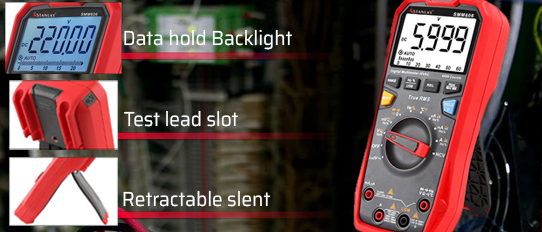
STANONE SMM606 20A True RMS Multimeter
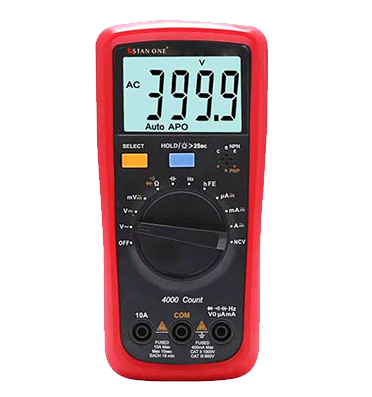
SMM909 Digital Multimeter
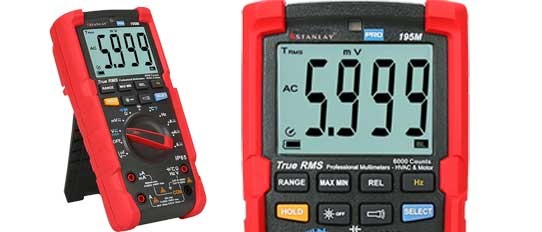
SMM198 True RMS 20A Professional Multimeter
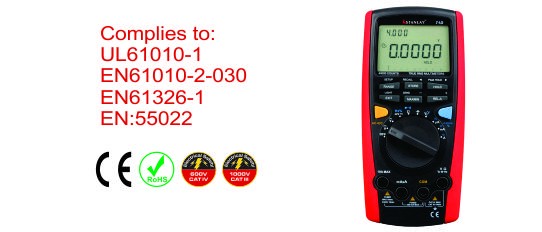
71D 40000 Counts True RMS Datalogging Multimeter
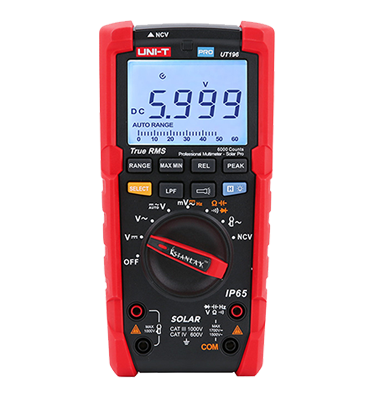
196 1700V DC True RMS Solar Multimeter
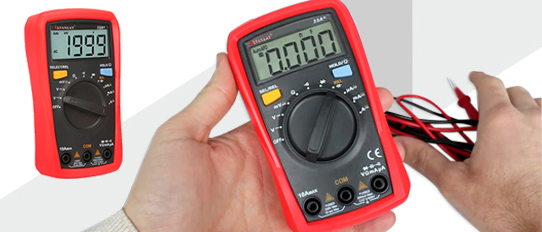
33A+ Palm Size Digital Multimeter
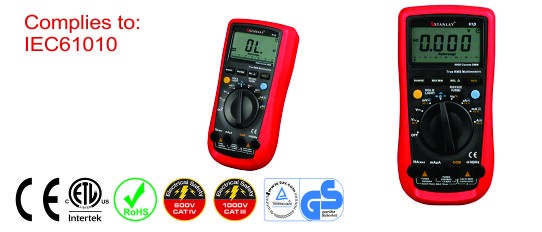
61D 10 A True RMS Multimeter

61A 10 A True RMS Multimeter
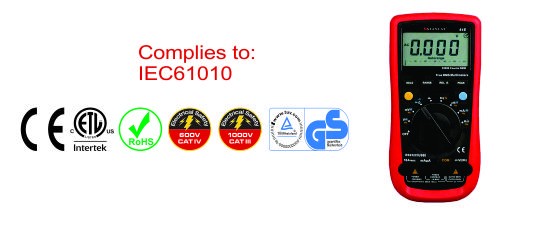
61E 10 A True RMS Multimeter
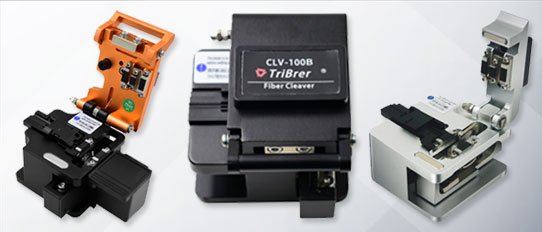
33 D+ Palm Size Digital Multimeter
 Clamp Meters
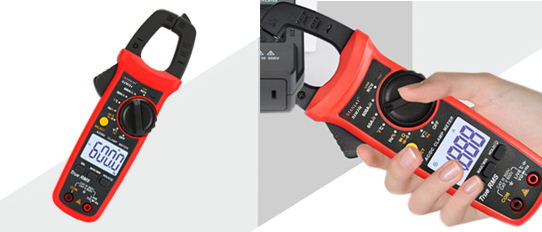
STANONE SCM204 AC/DC Digital Clamp Meter
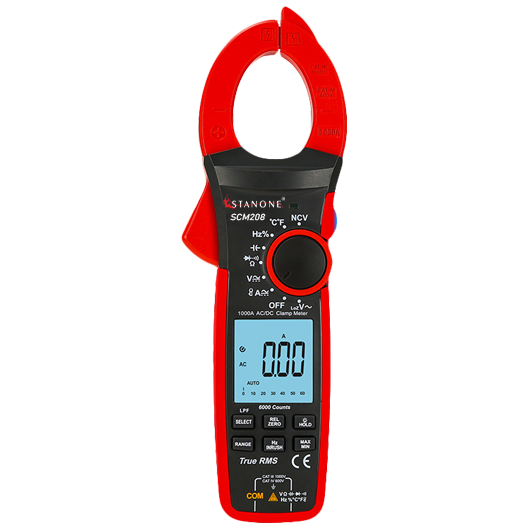
STANONE SCM208 1000A True RMS Digital High Performance Clamp Meter
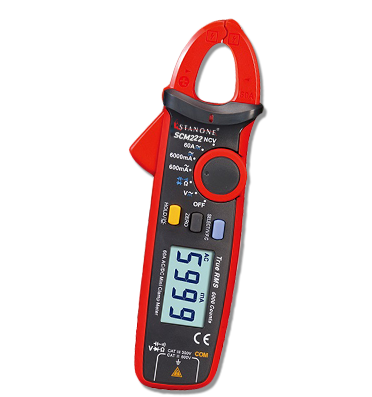
STANONE SCM222 60A High Precision Clamp Meter
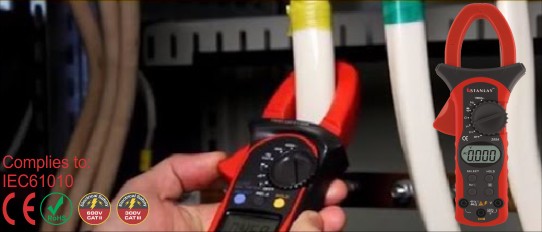
1000 A AC Digital Clamp Meter 205A
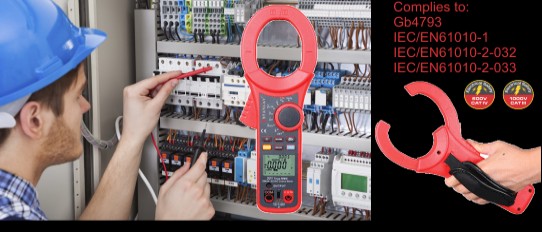
2000 A AC/DC Digital Clamp Meter 221
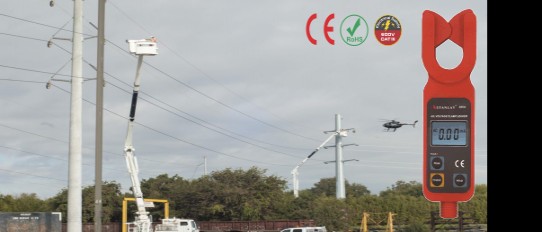
High Voltage Clamp Ammeter 255A/B
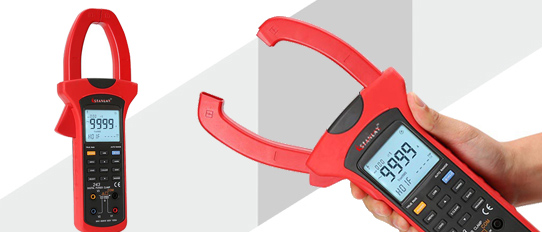
Power And Harmonics Clamp Meter 243
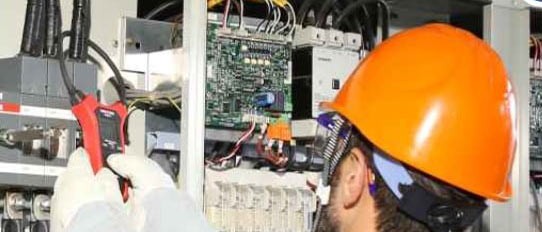
True RMS Flex Clamp 281A/C/E
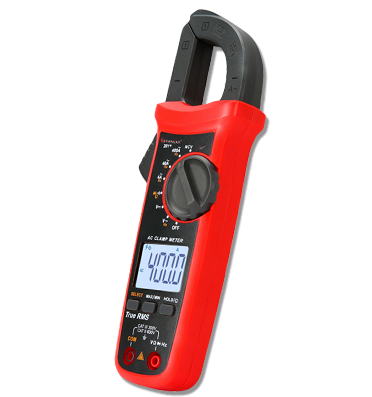
AC Digital Clamp Meter 201+
 Leakage Clamp Meters
 Insulation & Earth testers
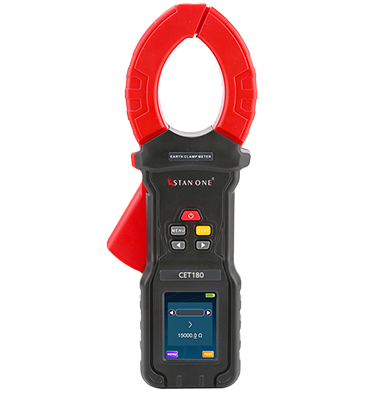
STANONE CET180 Clamp Earth Ground Tester
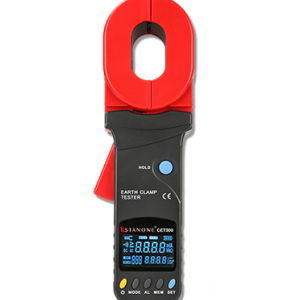
STANONE CET500 Digital Clamp Earth Resistance Tester
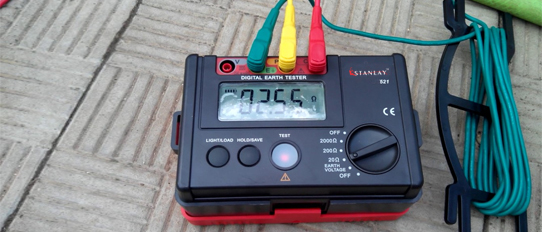
SET500 Digital Earth Ground Tester
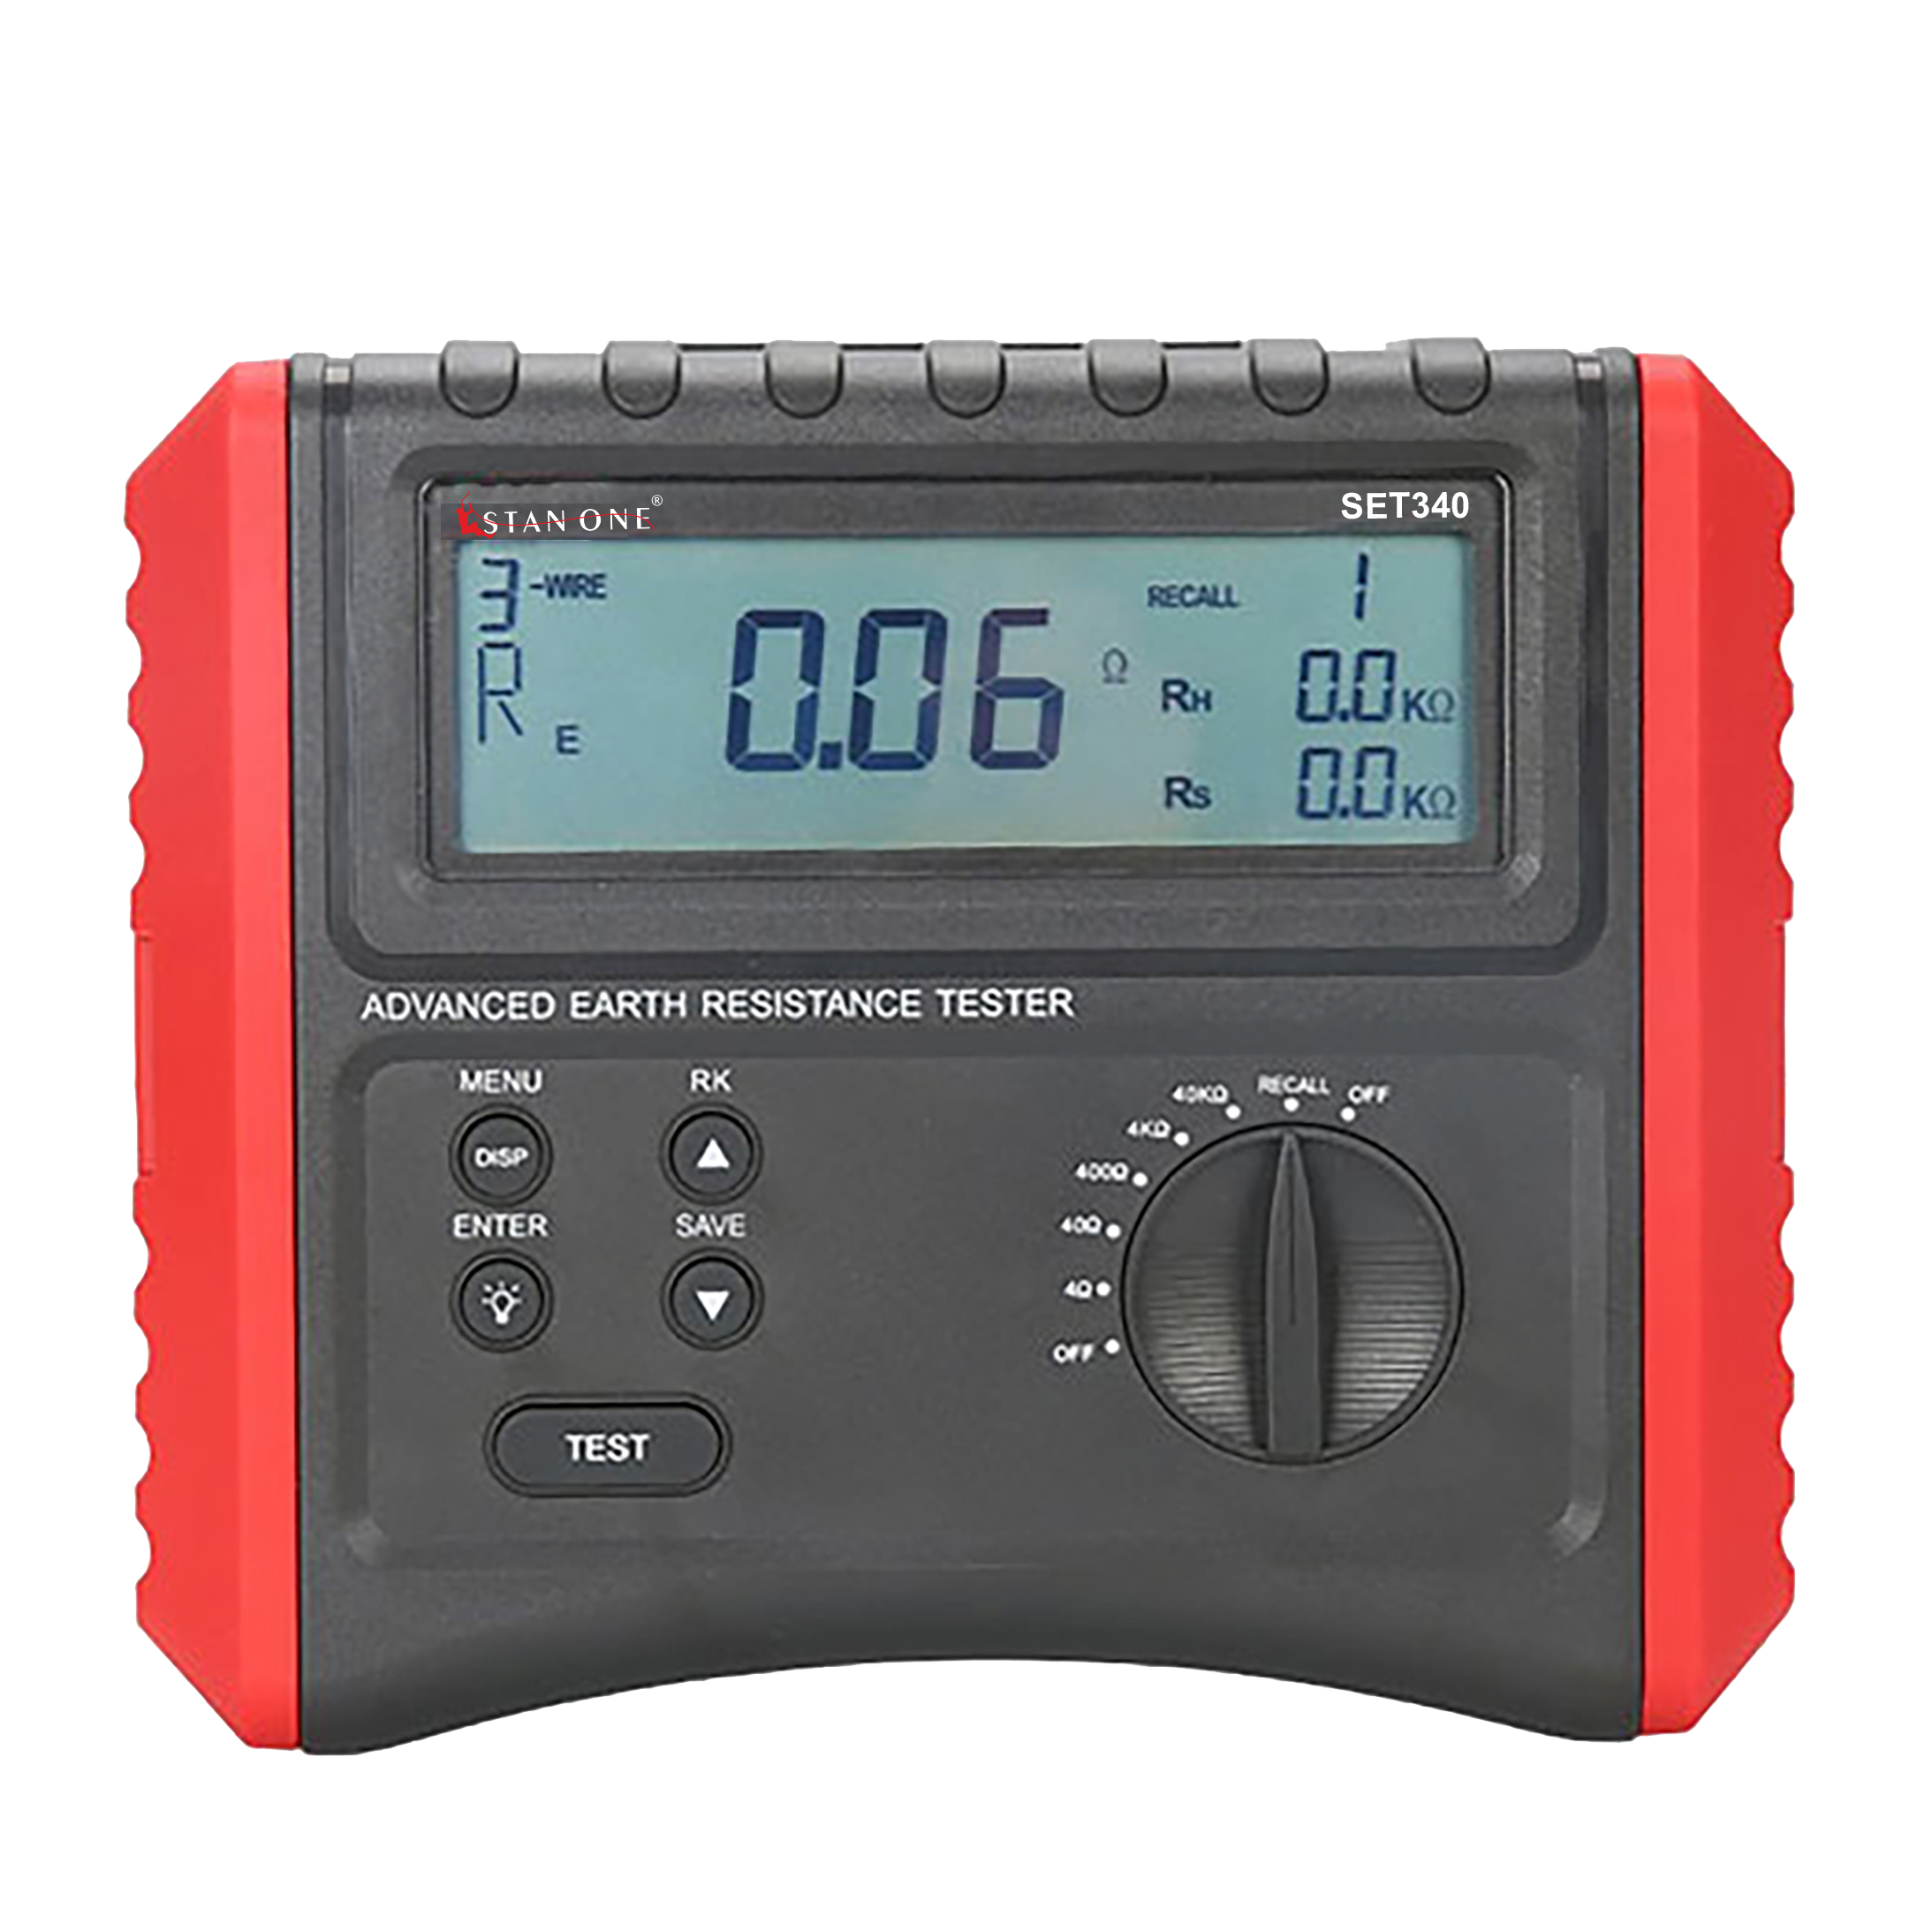
3/4 Wire Digital Earth Ground Tester SET340
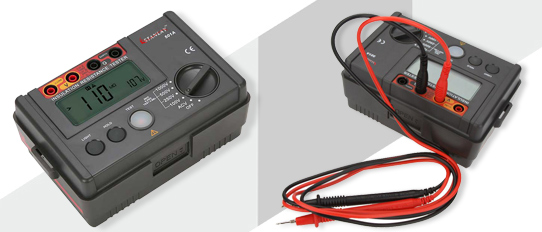
STANONE SIT500 1KV Insulation Tester
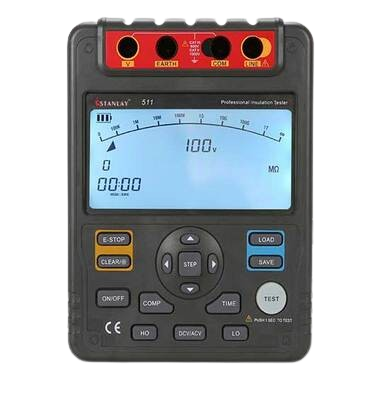
LV 1KV Insulation Tester 511

5 KV HV Insulation Tester 513
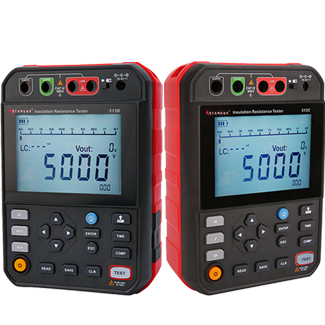
5 KV HV Insulation Tester 513B / 513C 5KV HV Digital Insulation Resistance Tester
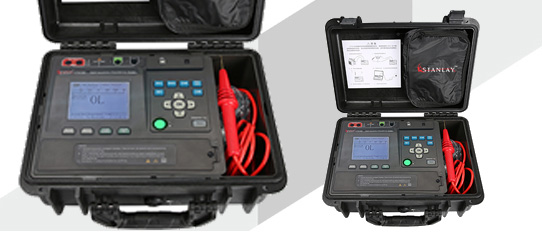
12 KV HV Insulation Tester 516B
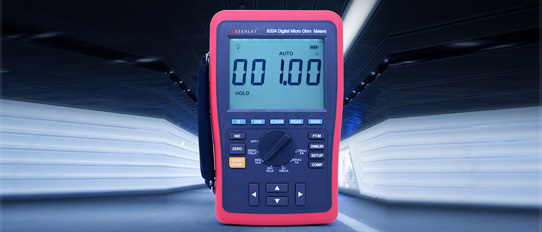
Micro Ohm Meter 620A
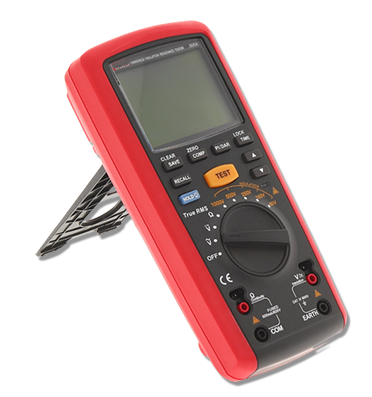
LV Handheld Insulation Tester Cum Multimeter 505A
 Temp/Light/Air/Sound Testers
 Oscilloscopes
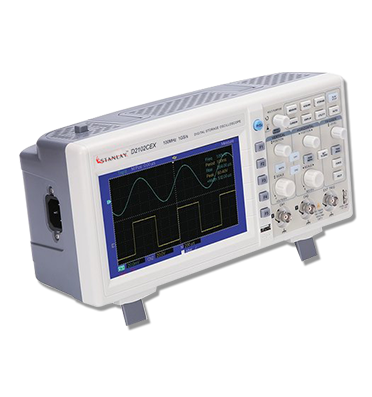
Oscilloscope
 Current & Voltage Testers
 Infrared Thermometers
 Concrete Test Hammers
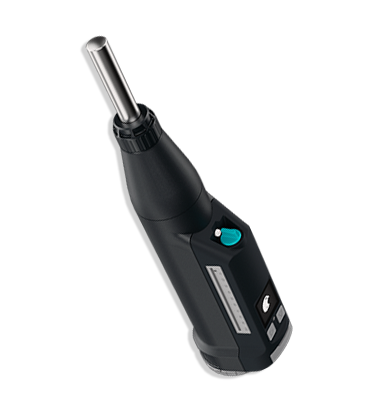
OS8000 Original Schmidt Hammer
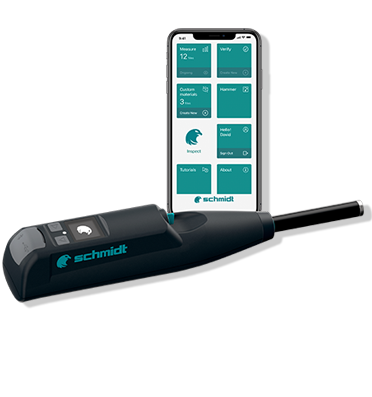
Silver Schmidt OS8200
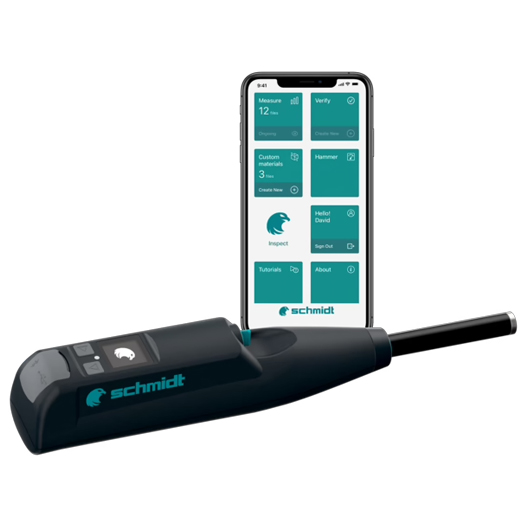
RS8000 - Rock Test Hammer
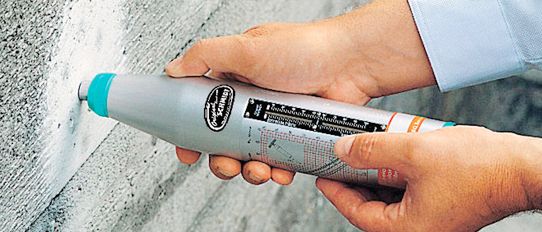
Proceq Original Schmidt Hammer
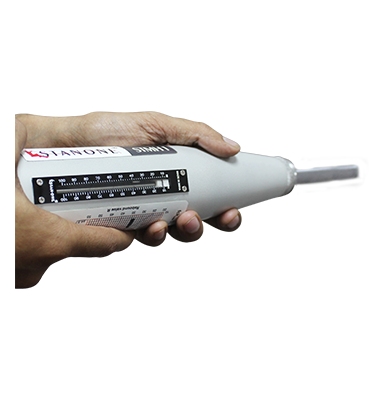
STAN ONE STMH1 Type N Rebound Concrete Test Hammer
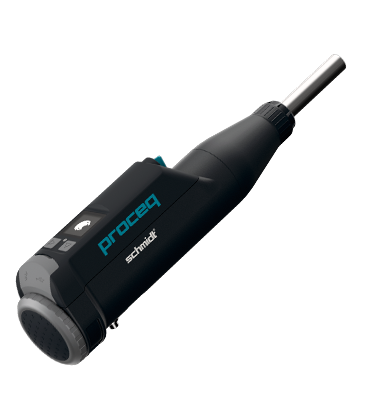
Proceq Original Schmidt Live
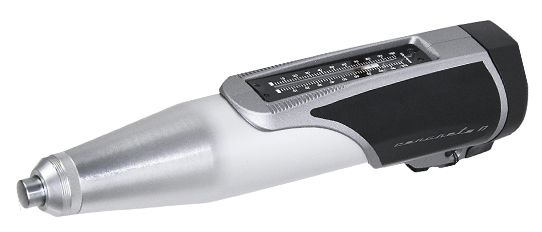
Stanlay Mechanical Concrete Test Hammer
 Concrete Mapping GPR
 Rebar Locators
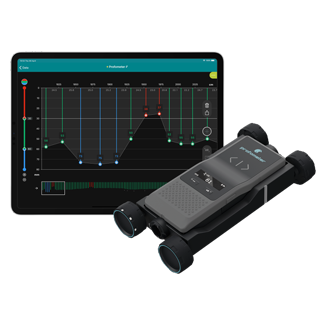
Profometer PM8000 Rebar Locator & Cover Meter
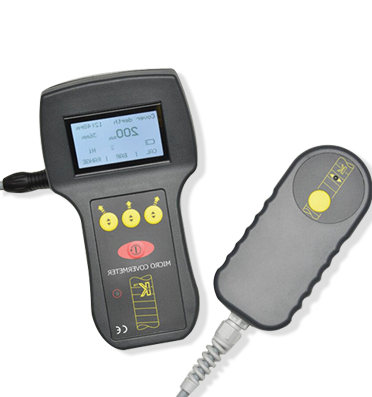
Kolectric MC8022 Micro Covermeter
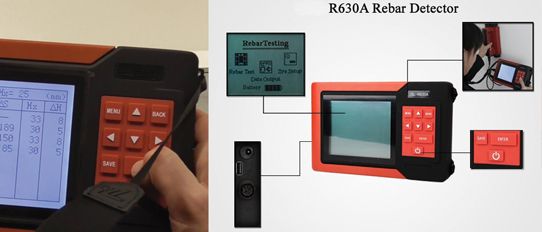
R630A Rebar Scanner
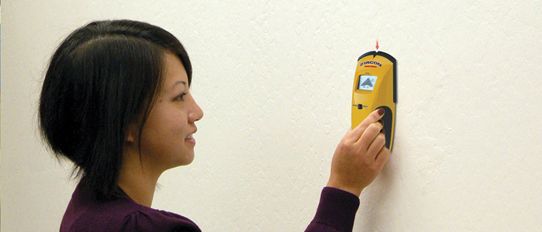
I520 Multi Scanner Wall Scanner
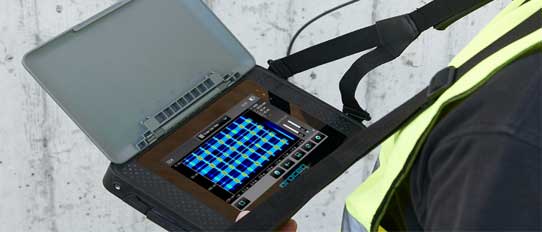
Profometer 600
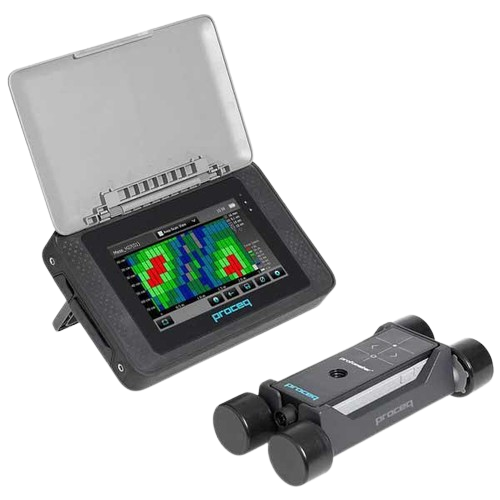
Profometer 630 AI
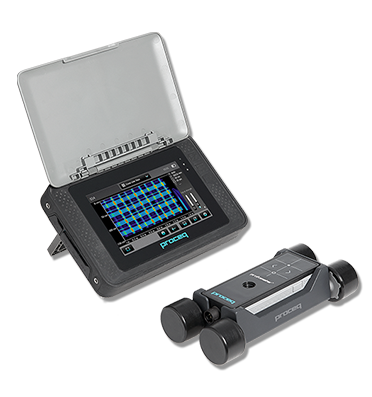
Profometer 650 AI
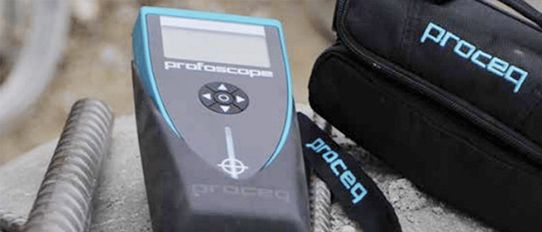
Proceq Profoscope Rebar Detector
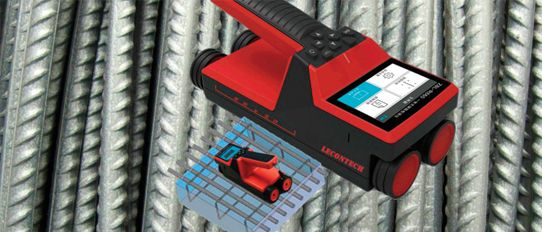
R660 Integrated High Performance Rebar Detector
 Rebar Corrosion Detectors
 Pull Off Testers
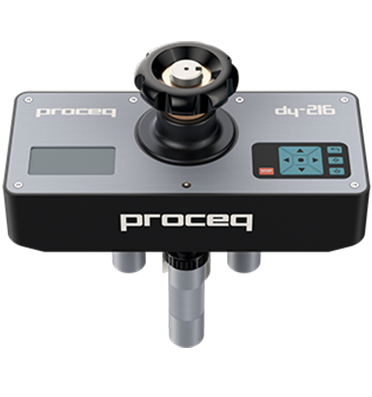
Proceq DY-2 Pull-Off Tester
 Pile Integrity Tester
 Ultrasonic Pulse Velocity Testers
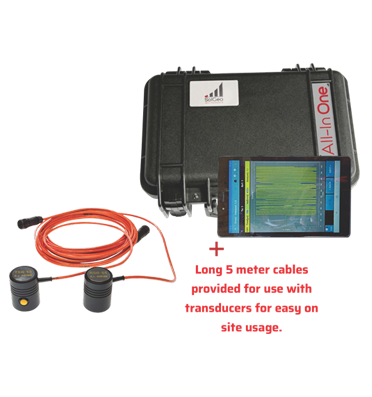
All-in-One Kit Contact 2 Ultrasonic Pulse Velocity Tester
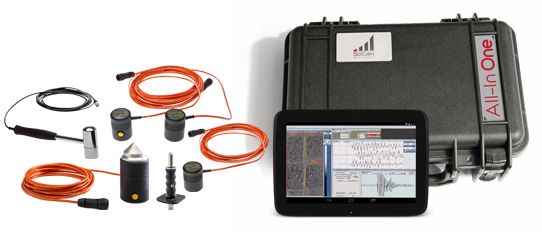
All-in-One Kit Contact 3 Ultrasonic & Sonic Pulse Velocity Tester
.png)
Proceq Pundit Lab+ Ultrasonic Pulse Velocity Tester
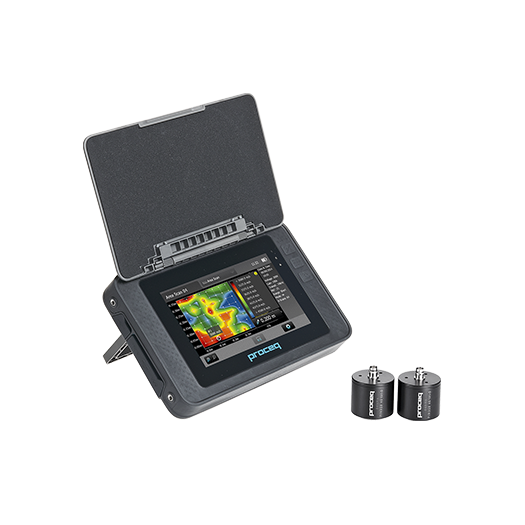
Proceq PL200
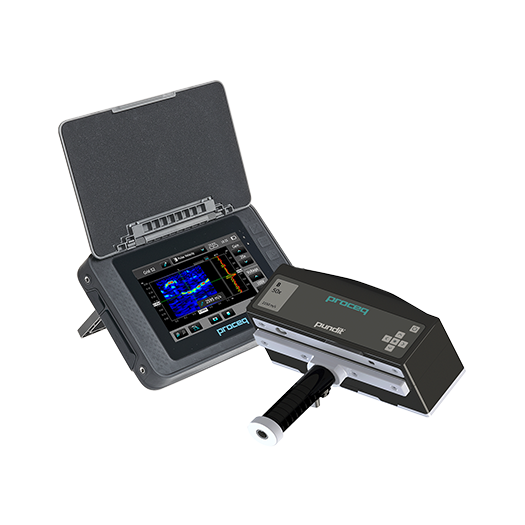
Proceq PL250
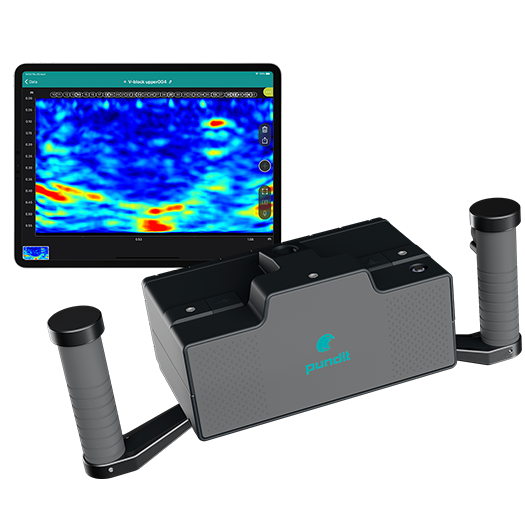
Proceq Pundit Live Array Pro
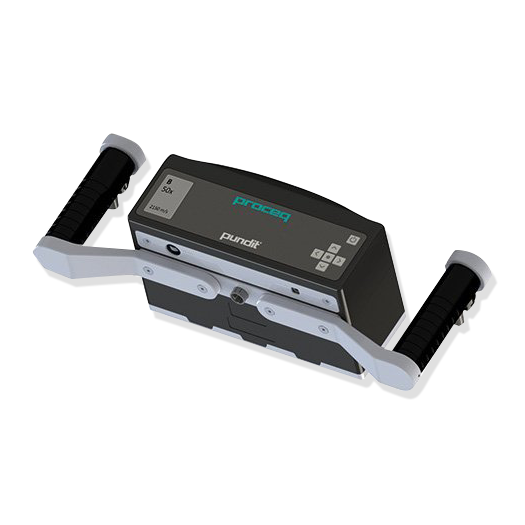
Proceq Pundit PD8050
 Cross Hole Testers
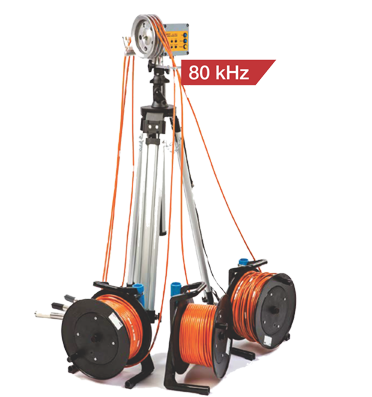
MCHA Ultrasonic Cross-Hole Tester
 Concrete Moisture Meter
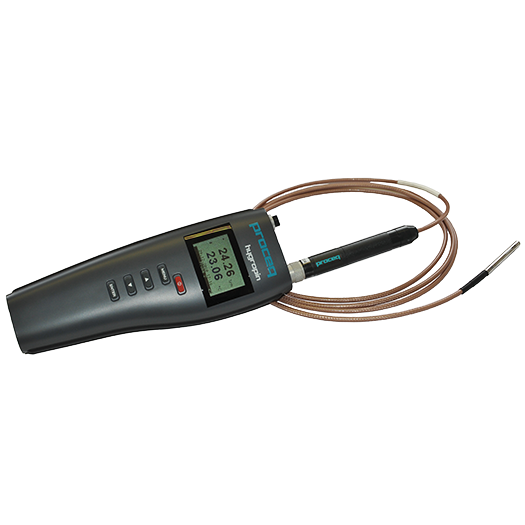
Proceq Hygropin Concrete Moisture Meter
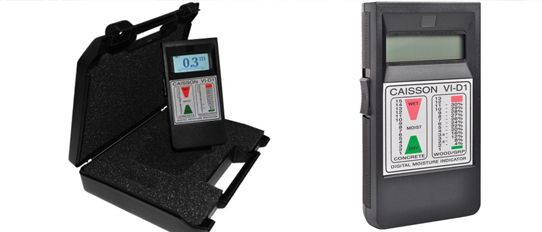
V1D1 Digital Moisture Meter
 Concrete Resistivity Meters
.png)
Proceq Resipod Concrete Resistivity Meter
 Borehole Deviation Probes
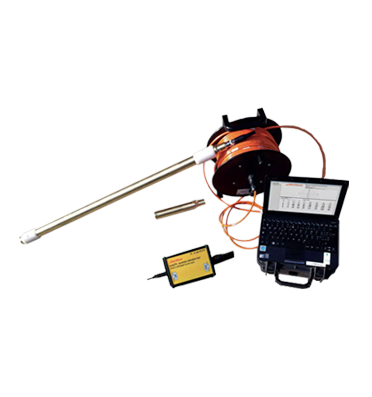
INCLIS 30 DH Borehole Deviation Probes
 Utility Detection & Mapping GPR
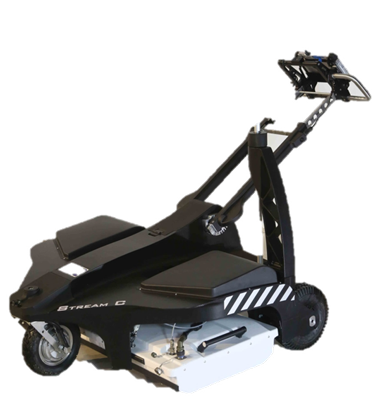
STREAM C
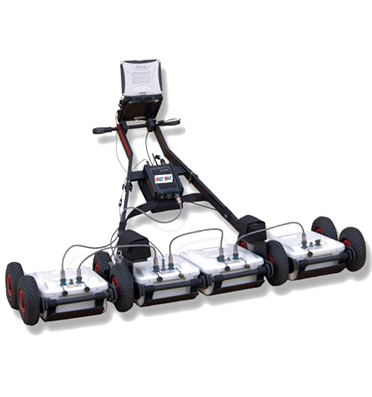
IDS RIS MF Hi-MOD GPR
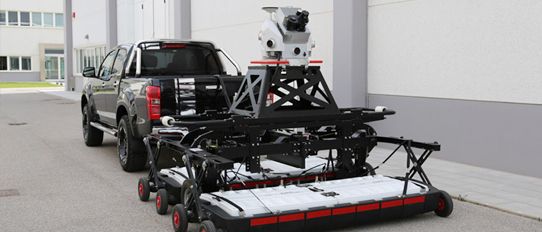
STREAM-EM
 GPR for Pavement Engineering
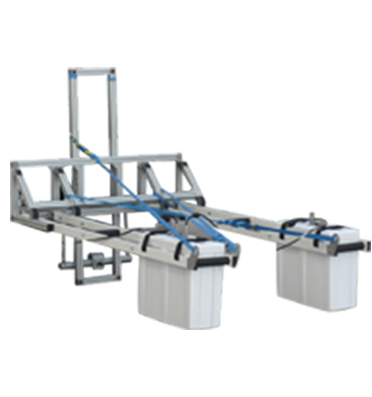
RIS Hi -Pave
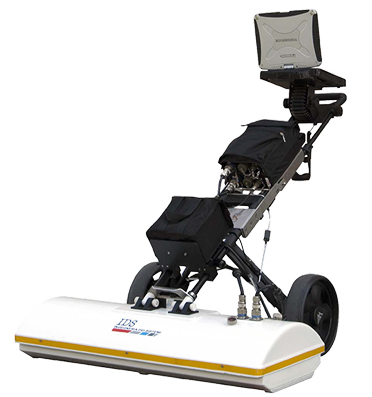
IDS RIS - Hi Bright
 RIS Hi Bright Bridge Inspection GPR

IDS RIS - Hi Bright
 SRS Railway Ballast Inspection system
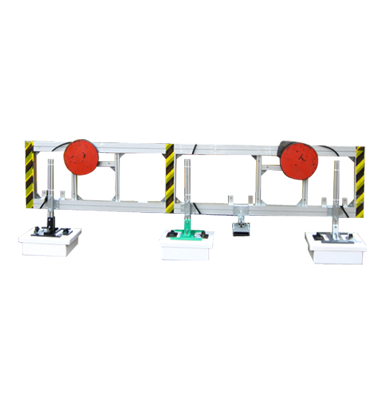
SRS SafeRailSystem
 Interferometric GPR
 GPR for Geology & Environment
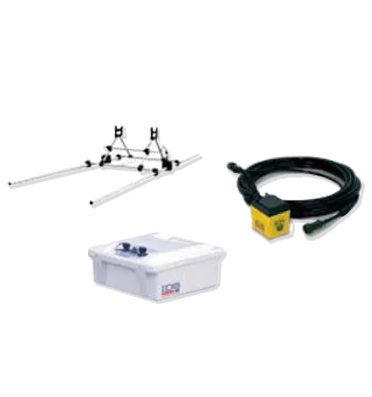
RIS One And RIS Plus
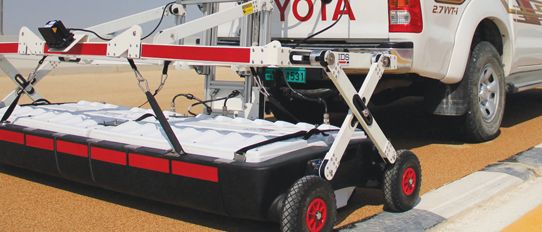
STREAM-X
 NDT MyMo
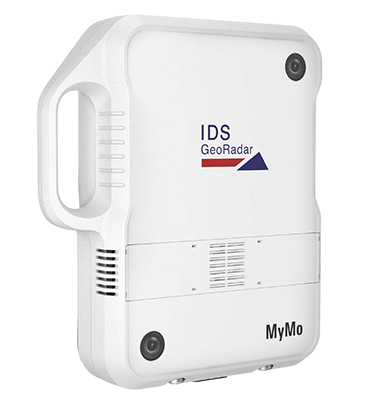
NDT MyMo
 Borehole Inclinometer
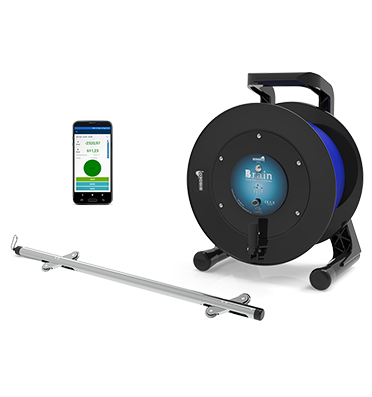
BRAIN MEMS Inclinometer
 In-Place Inclinometer
 Piezometers
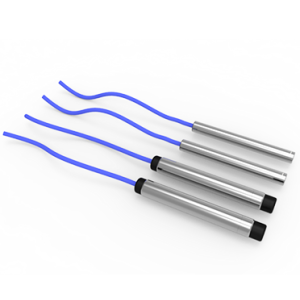
Vibrating Wire Piezometers
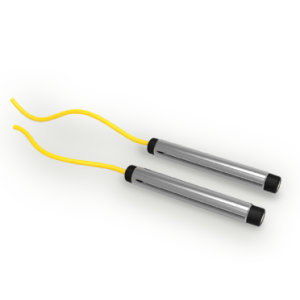
Piezo-Resistive Piezometers
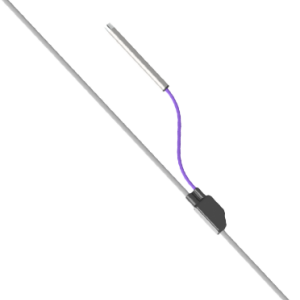
Multipoint Vibrating Wire Piezometer
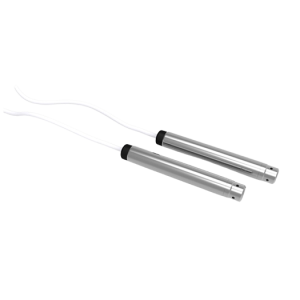
Vented Pressure Transducers
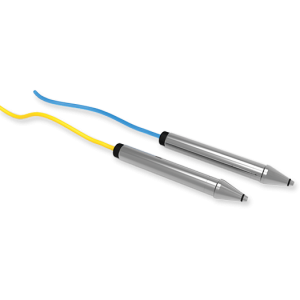
Removable Pressure Transducer
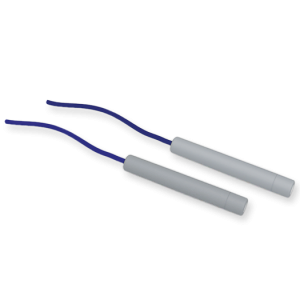
Titanium Piezometer
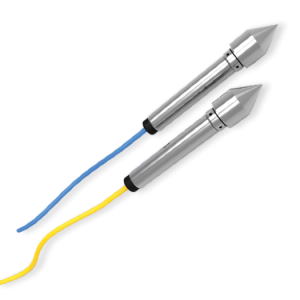
Drive-In Piezometer
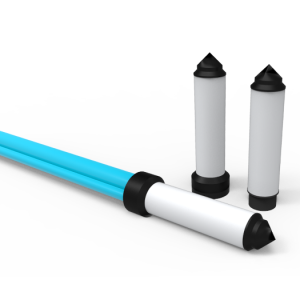
Casagrande & Standpipe Piezometer
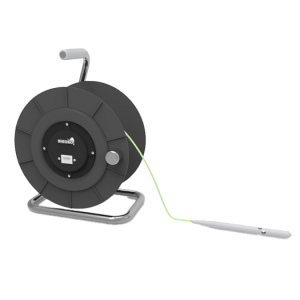
Water Level Indicators & Staff Gauges
V-Notch Flow Meters
 Extensometers
 Load Cells
 Pressure Cells
 Tiltmeter & Pendulums
 Settlement Gauges
 Seismometer & Seismic Recorder
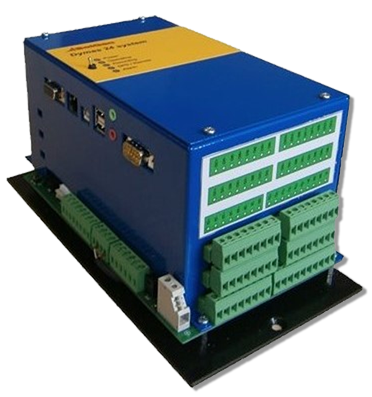
Dymas 24 Alben Multichannel Seismic Recorder
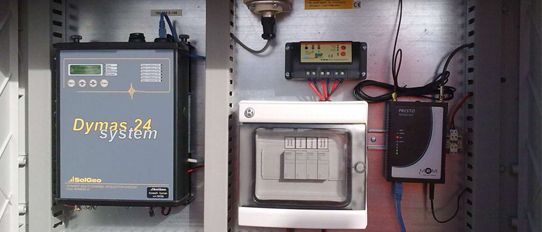
Dymas 24 Master V Portable Seismic Recorder
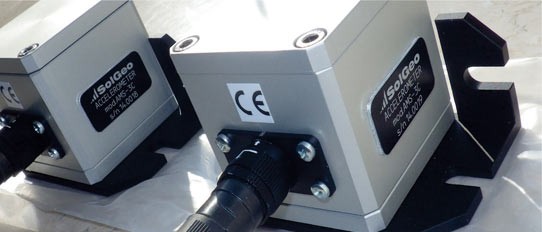
Solgeo AMS Mems Accelerometer
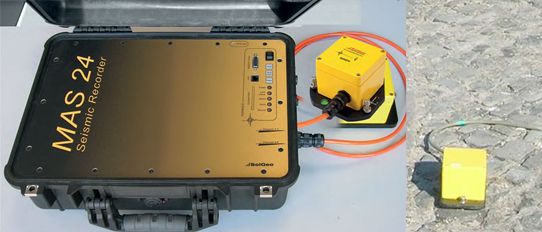
MAS24 Micro Seismic Recorder
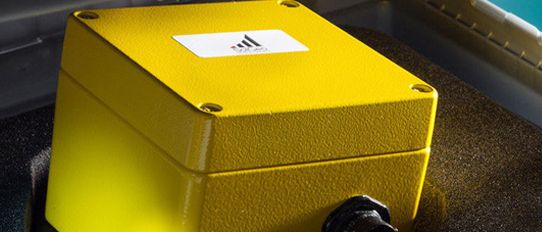
Veloget Seismometer 1 Hz
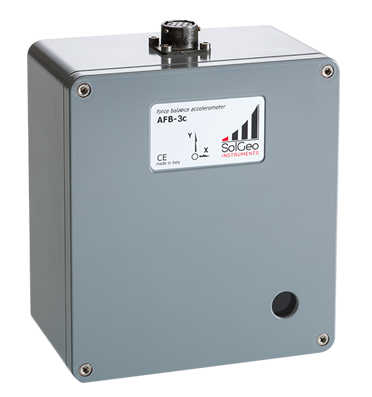
Force Balance Accelerometers
 Retroreflectometers
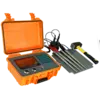 Soil & Asphalt Density Gauge
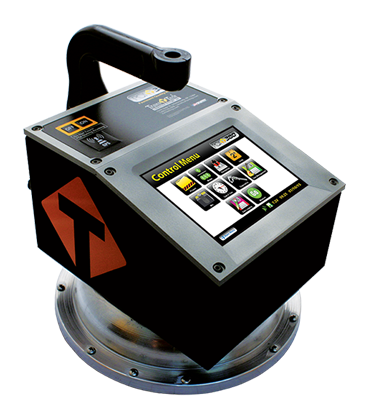
PQI 380 Non Nuclear Asphalt Density Gauge
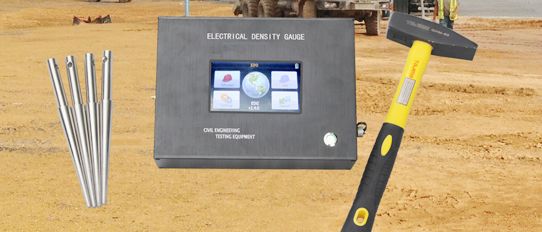
Electrical Density Gauge
 Light Weight Deflectometer
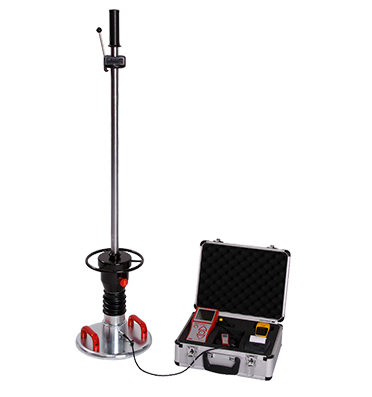
HMP LFG Pro Light Weight Deflectometer
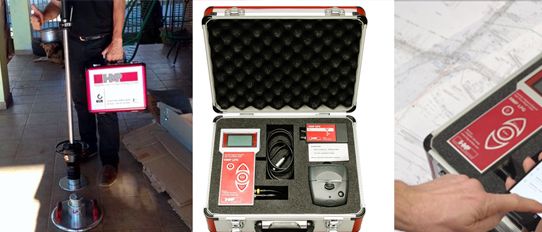
HMP LFG 4 Light Drop Weight Tester
 Digital Static Plate Load Tester
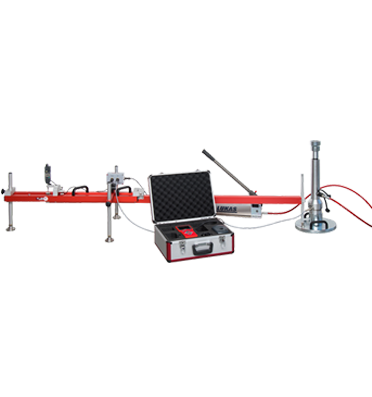
HMP PDG Pro Digital Static Plate Load Tester
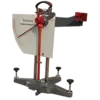 Friction Tester
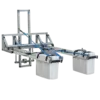 GPR for Pavement Testing

RIS Hi -Pave
 Laser Surface Profilometer
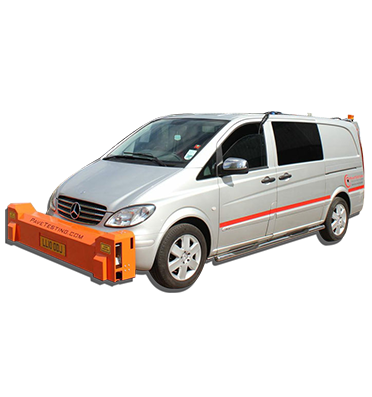
Pavetesting Laser Surface Profilometer
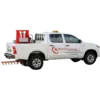 Falling Weight Deflectometer

Vehicle Mounted Falling Weight Deflectometer
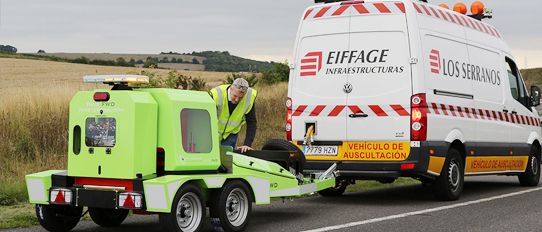
Trailer Mounted Falling Weight Deflectometer
 Asphalt Content Tester
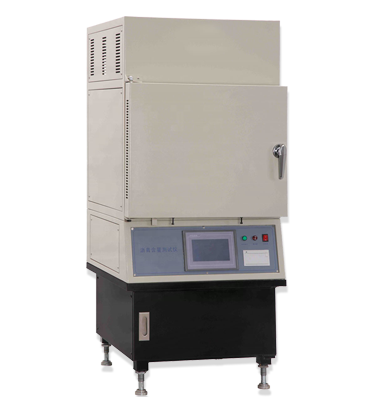
Asphalt Content Ignition Oven Tester
 Portable Hardness Testers
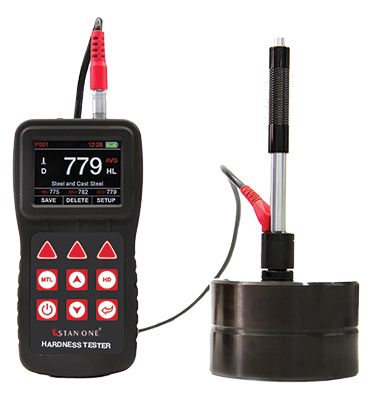
STH600 Automatic Portable Hardness Tester
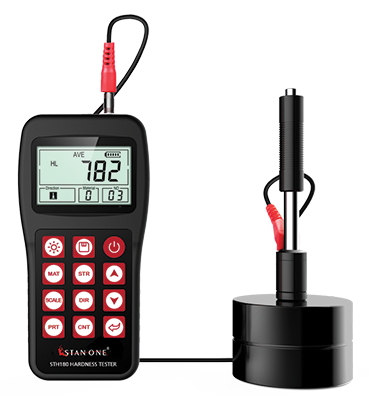
STH180 Portable Leeb Hardness Tester
 Material & Coating Thickness
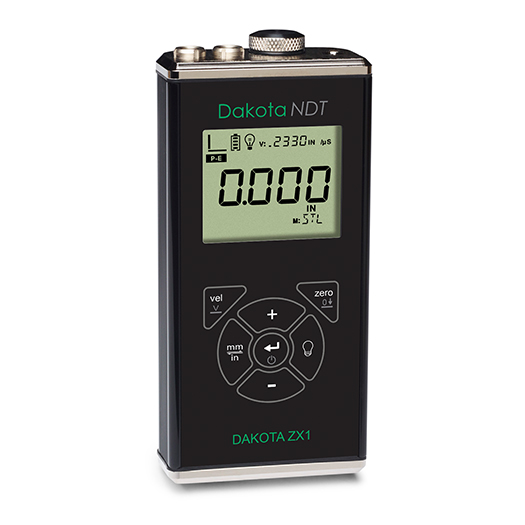
ZX-1 Ultrasonic Thickness Gauge

ZX3 Ultrasonic Thickness Gauge

ZX5-Data Logging Ultrasonic Thickness Gauge

ZX6-DL Multi Echo Material Thickness Gauge
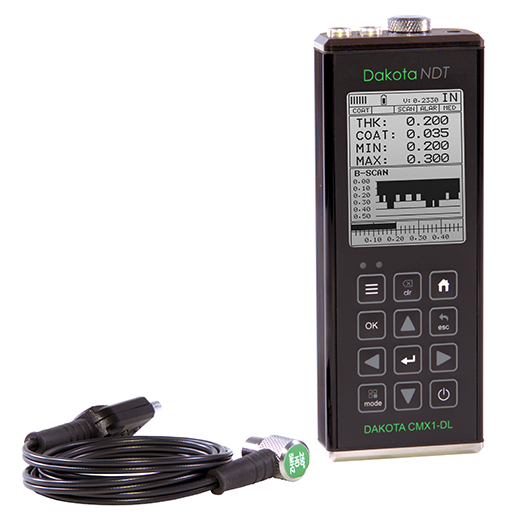
CMX1-DL : Material Coating & Thickness Gauge
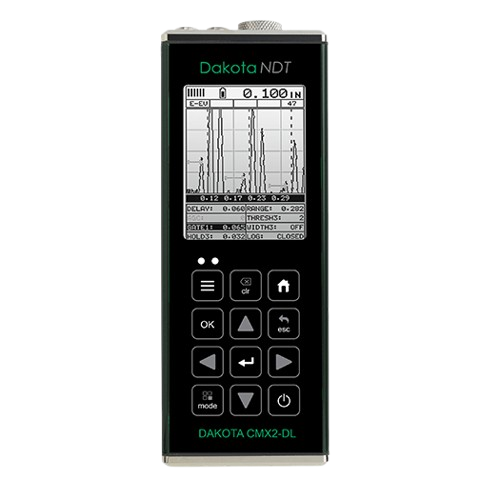
CMX2-DL : Material Coating & Thickness Gauge
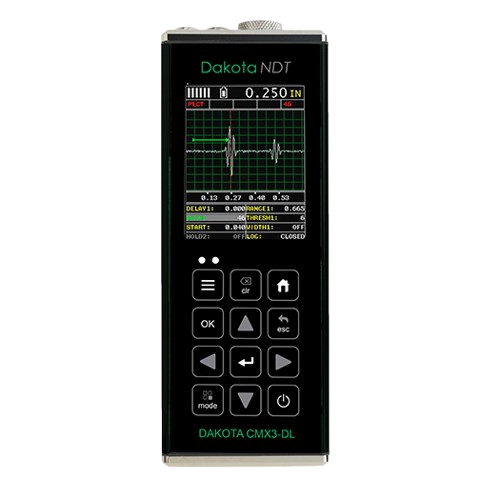
CMX3-DL : Material Coating & Thickness Gauge
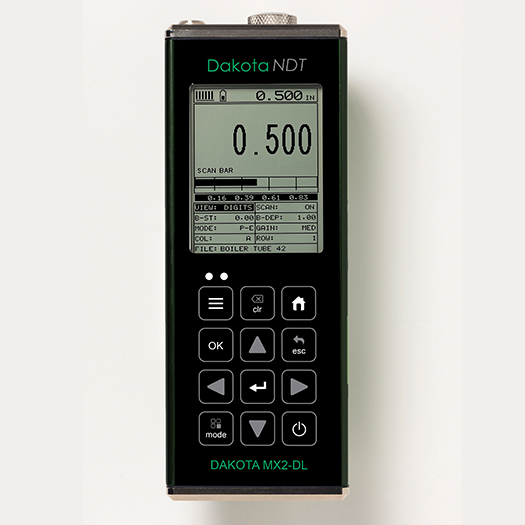
MX2-DL Ultrasonic Thickness Gauge
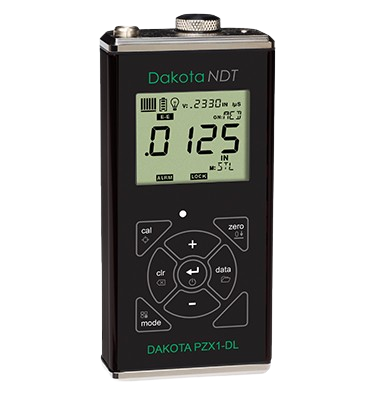
PZX1-DL Precision Thickness Gauge
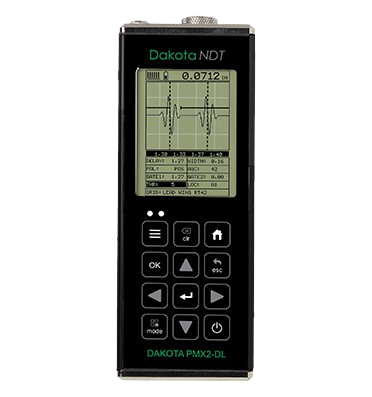
PMX2-DL Ultrasonic Precision Thickness Gauge
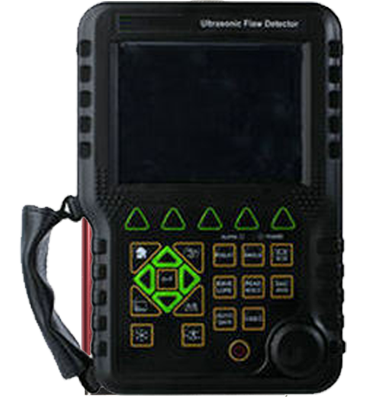
MFD 500 Ultrasonic Flaw Detector
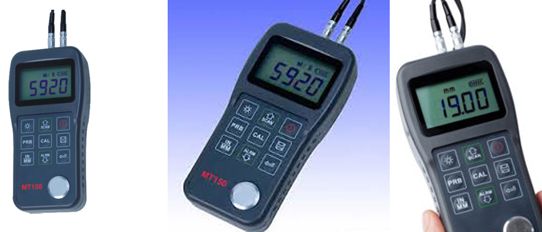
Digital Ultrasonic Material Thickness Gauge - 160
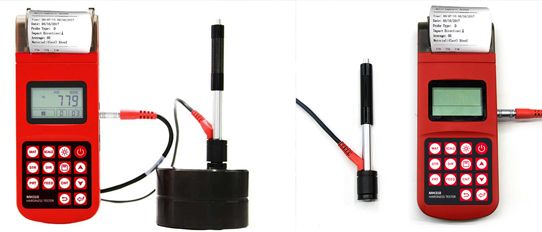
ST310 Hardness Tester
 Bolt Tension Monitors
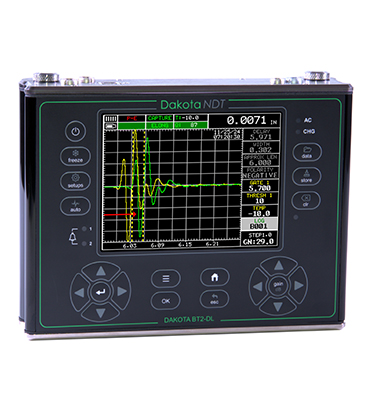
BT2-DL Bolt Tension Monitor
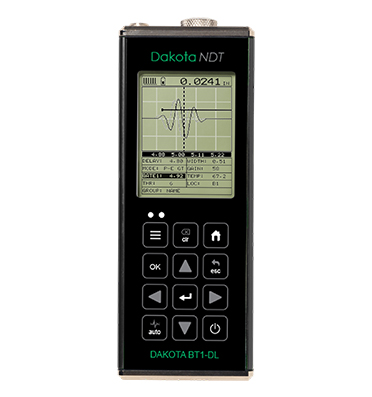
BT1-DL Bolt Tension Monitor
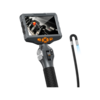 Video Borescopes
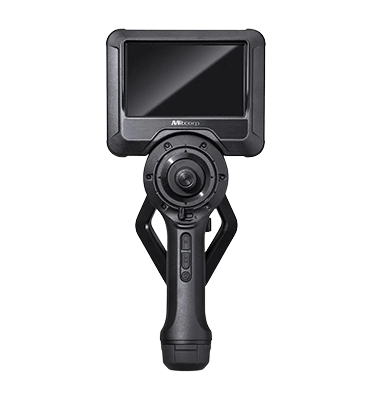
X750 Articulated Industrial Videoscope
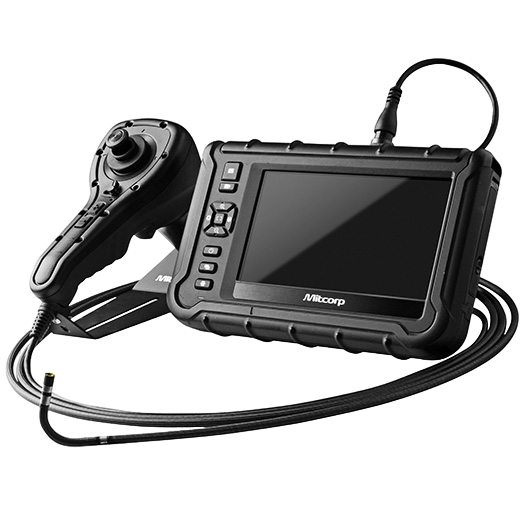
X2000 High Performance 4-Way Articulated HD Video Borescope
.png)
STD500 2-Way Articulating Borescope
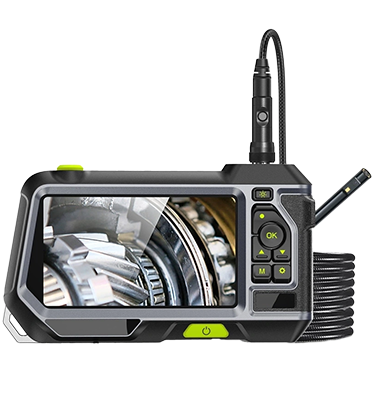
SVTS850 Rotating Dual View Borescope
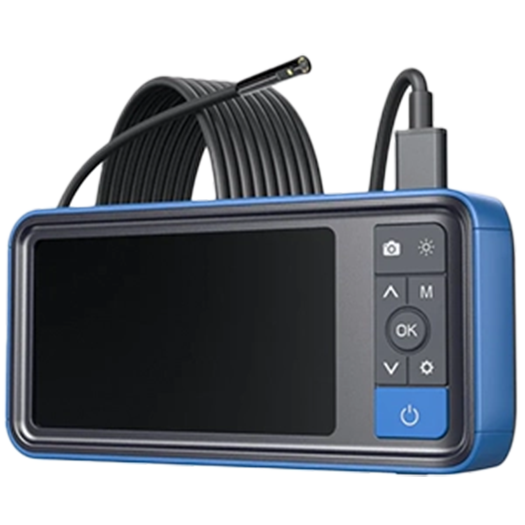
STAN ONE SVBS450 Long Length Video Borescope Inspection Camera
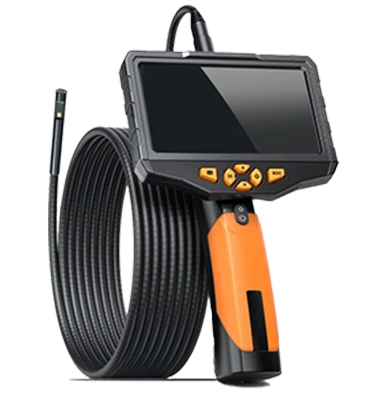
STAN ONE SVBS300 Video Borescope Inspection Camera
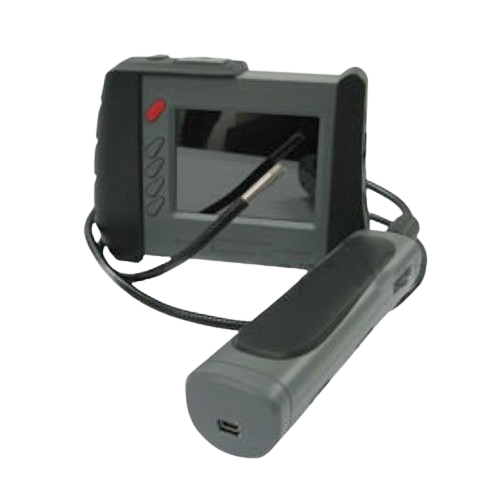
ST WVBS
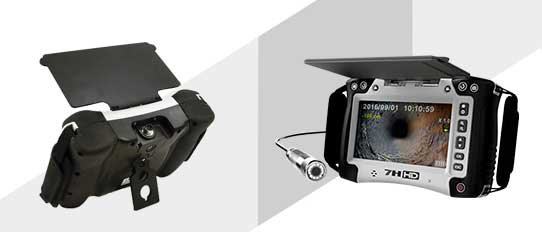
7" (Inch) High Resolution TFT Display Industrial Borescope MEGA-7
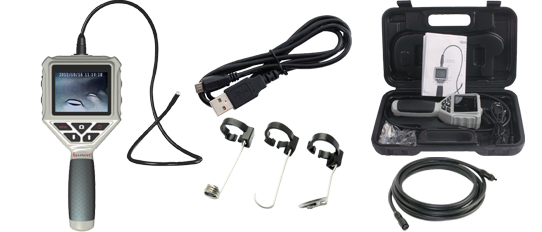
STVB27R1M 2.7†LCD Video Recording Borescope
 Ultrasonic Flaw Detectors
 Coating thickness gauge
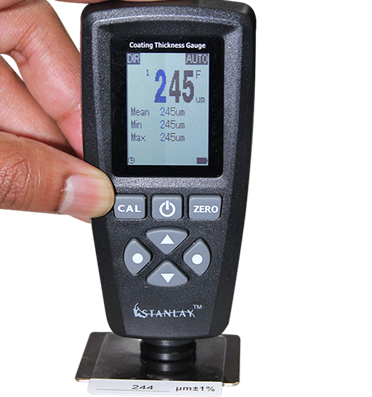
CT100 Coating Thickness Gauge
.jpg)
CT600 Advanced Coating Thickness Gauge
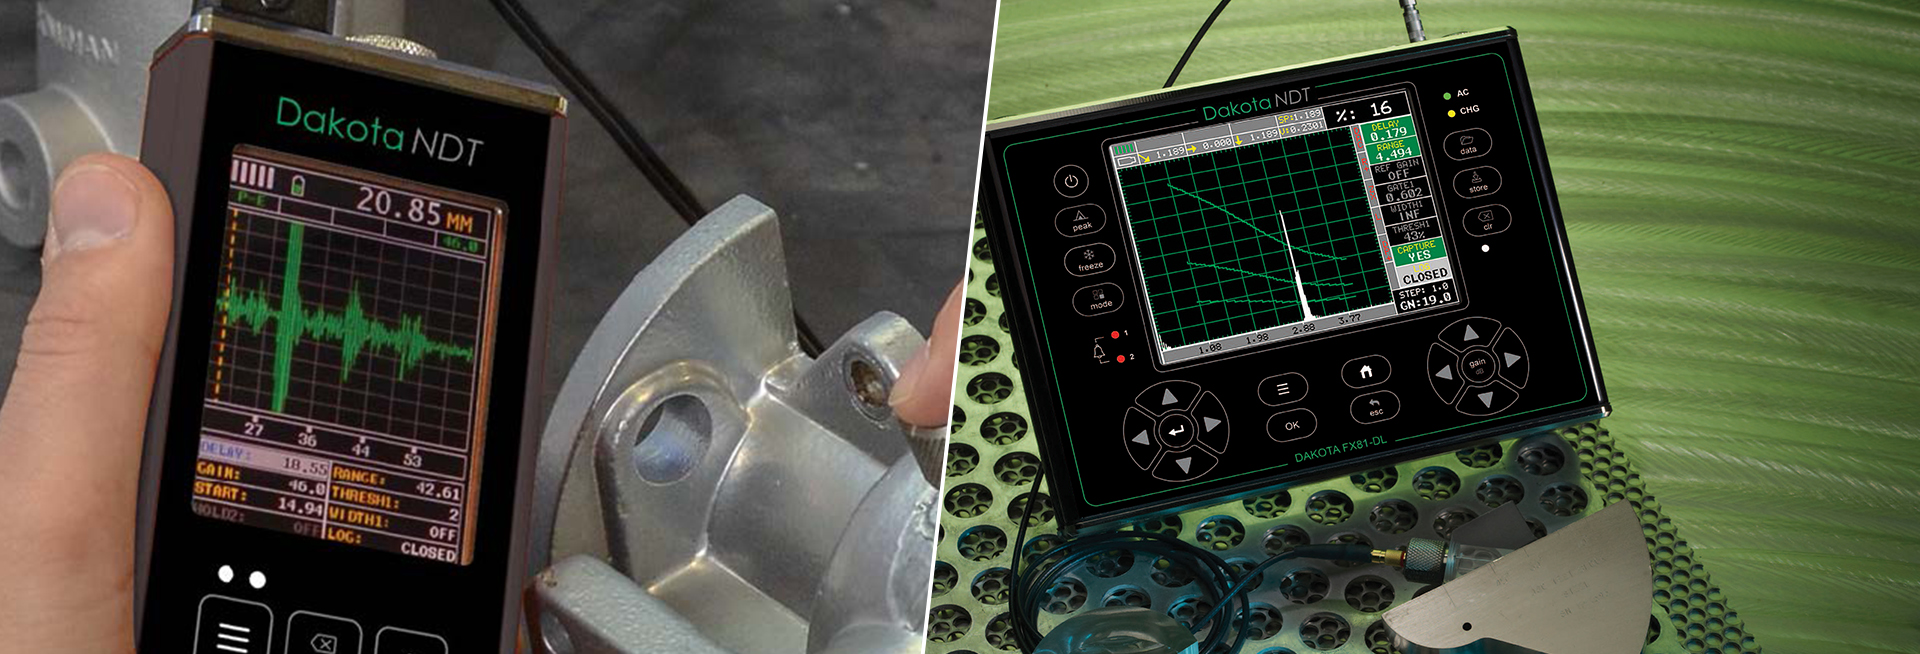
Dakota Flaw Detectors are the industry standard for high performance flaw detectors.
Flaw detection is the most commonly used technique among all the applications of industrial ultrasonic testing. Ultrasonic flaw detector transmits high frequency sound waves through a given medium at a specific velocity, when they encounter a boundary with a different medium they get reflected back & generate clear echo patterns.
This technique is used during the manufacturing of composites, welds, metal alloy plate or rolling mill stock products to detect voids, inclusions, and flaws and adjust process parameters to eliminate these manufacturing defects.
Ultrasonic flaw detection is important in the aerospace, automotive, infrastructure (bridges, towers, etc.), manufacturing, marine, oil & gas and power generation industries. Aging structures such as bridges, airframes, pressure vessels, reactors, and ships also require nondestructive testing to ensure material integrity, airworthiness, and overall safety for humans as well as environment and the prevention of major capital equipment losses.
A variety of flaws occur in materials and parts either during manufacturing or due to aging effect in the field:
Ultrasonic flaw detection technique is used for the detection of inherent defects such as cracks, inclusions, or other discontinuities in metals, plastics, ceramics and composite materials.
Stanlay is an authorized distribution partner to Dakota NDT USA for its range of instruments. Here we offer 2 models of flaw detectors :
FX71-DL, FX81-DL Dakota Ultrasonic Flaw Detectors for the applications of industrial ultrasonic testing (Locating Pits, Flaws and blind surface corrosion) & coating thickness measurement.
|
Application |
Locate Flaws, Measure material thickness & coating |
|||
|
Model |
FX71-DL | FX81-DL | ||
|
Transducers |
Use flaw Transducers & wedges &/or transducers for thickness gauges select per application |
|||
|
Flaw Features |
TRIG, DAC, AWS, AVG/DGS, TCG, Auto calibration |
|||
|
Flaw measurement Range |
P-E: 0.63mm to 3.48cms |
|||
|
Thickness gauge modes |
P-E, PECT, PETP, E-E, E-EV, CT, Differential model for QC inspection , high speed scan up to 50 reading per second |
|||
|
Pulsar |
2 Adjustable square wave pulsar & receives |
+Tow tone burst pulsars |
||
|
Pulsar voltage |
100-200 peak volt amplitude rise/fall time <10ns up to 50ohm |
100 to 400 V |
||
|
Pulse widths |
40 ns to 400ns |
|||
|
Frequency Band |
1.8 to 19 MHz |
Additionally, 3 narrow bands at 2,5 & 10 MHz, 0.5 & 15 MHz
|
||
|
Display |
¼ VGA AMOLED color Display |
5.7 inch diagonal, Blanview sunlight readable color, QVGA Color TFT Display |
||
|
Display size |
43.2x57.6mm |
4.54x3.40m (5.7” Diagonal) |
||
|
Application |
Thickness Gauge Features |
|||
|
Model |
FX71-DL | FX81-DL | ||
|
Pulse-Echo Mode (P-E) Pit & Flaw Detection |
0.63mm to 3048 cm |
|||
|
Pulse-Echo Coating Mode (PECT) : (Material, Coating, Pit & Flaw Detection) |
Material: 0.025 in to 96 in (0.63mm to 244 cm) Coating: 0.001 to 0.100‘’ (0.01 to 2.54 mm) |
Measures from 0.025 in to 100 ft. (0.63mm to 3048 cm) Coating: 0.001 to 0.100‘’ (0.01 to 2.54 mm) |
||
|
Pulse-Echo Temp Comp Mode (PETP) - (Pit & Flaw Detection), |
Auto temperature compensation range 0.025 in to 96 in (0.63 mm to 244 cm) |
Auto temperature compensation measures from 0.025 in to 100 ft. (0.63 mm to 3048 cm) |
||
|
Echo-Echo Mode (E-E) - (Thru Paint & Coatings) |
Range 0.050 to 4.0‘’ (1.27 to 102 mm). Single Delay Line - 0.007 to 1.00 in (.178 to 25.4 mm) Single Contact - 0.040 in to 10 ft. (1 mm to 305 cm). Will vary based on coating |
|||
|
Echo-Echo Verify (E-EV) - (Thru Paint & Coatings) |
Range 0.050 to 1.0‘’ (1.27 to 25.4 mm). Will vary based on coating |
|||
|
Coating Only Mode (CT) - (Coating Thickness) |
Range 0.0005 to 0.100‘’ (0.0127 to 2.54 mm). Range will vary +/- depending on the coating |
|||

Type in the Search box to locate your product of interest. You can also type in your application. E.g. Material thickness.

